WA6. Solar System S
Statement
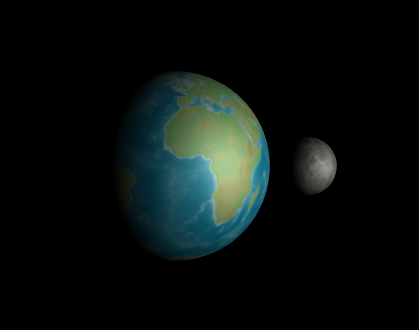
For the unit 6 programming assignment, we will experiment with animation by creating two sphere geometries. The larger sphere will represent the earth and a smaller one will represent the moon similar to what is shown in the following figure.
To complete this assignment, include the following:
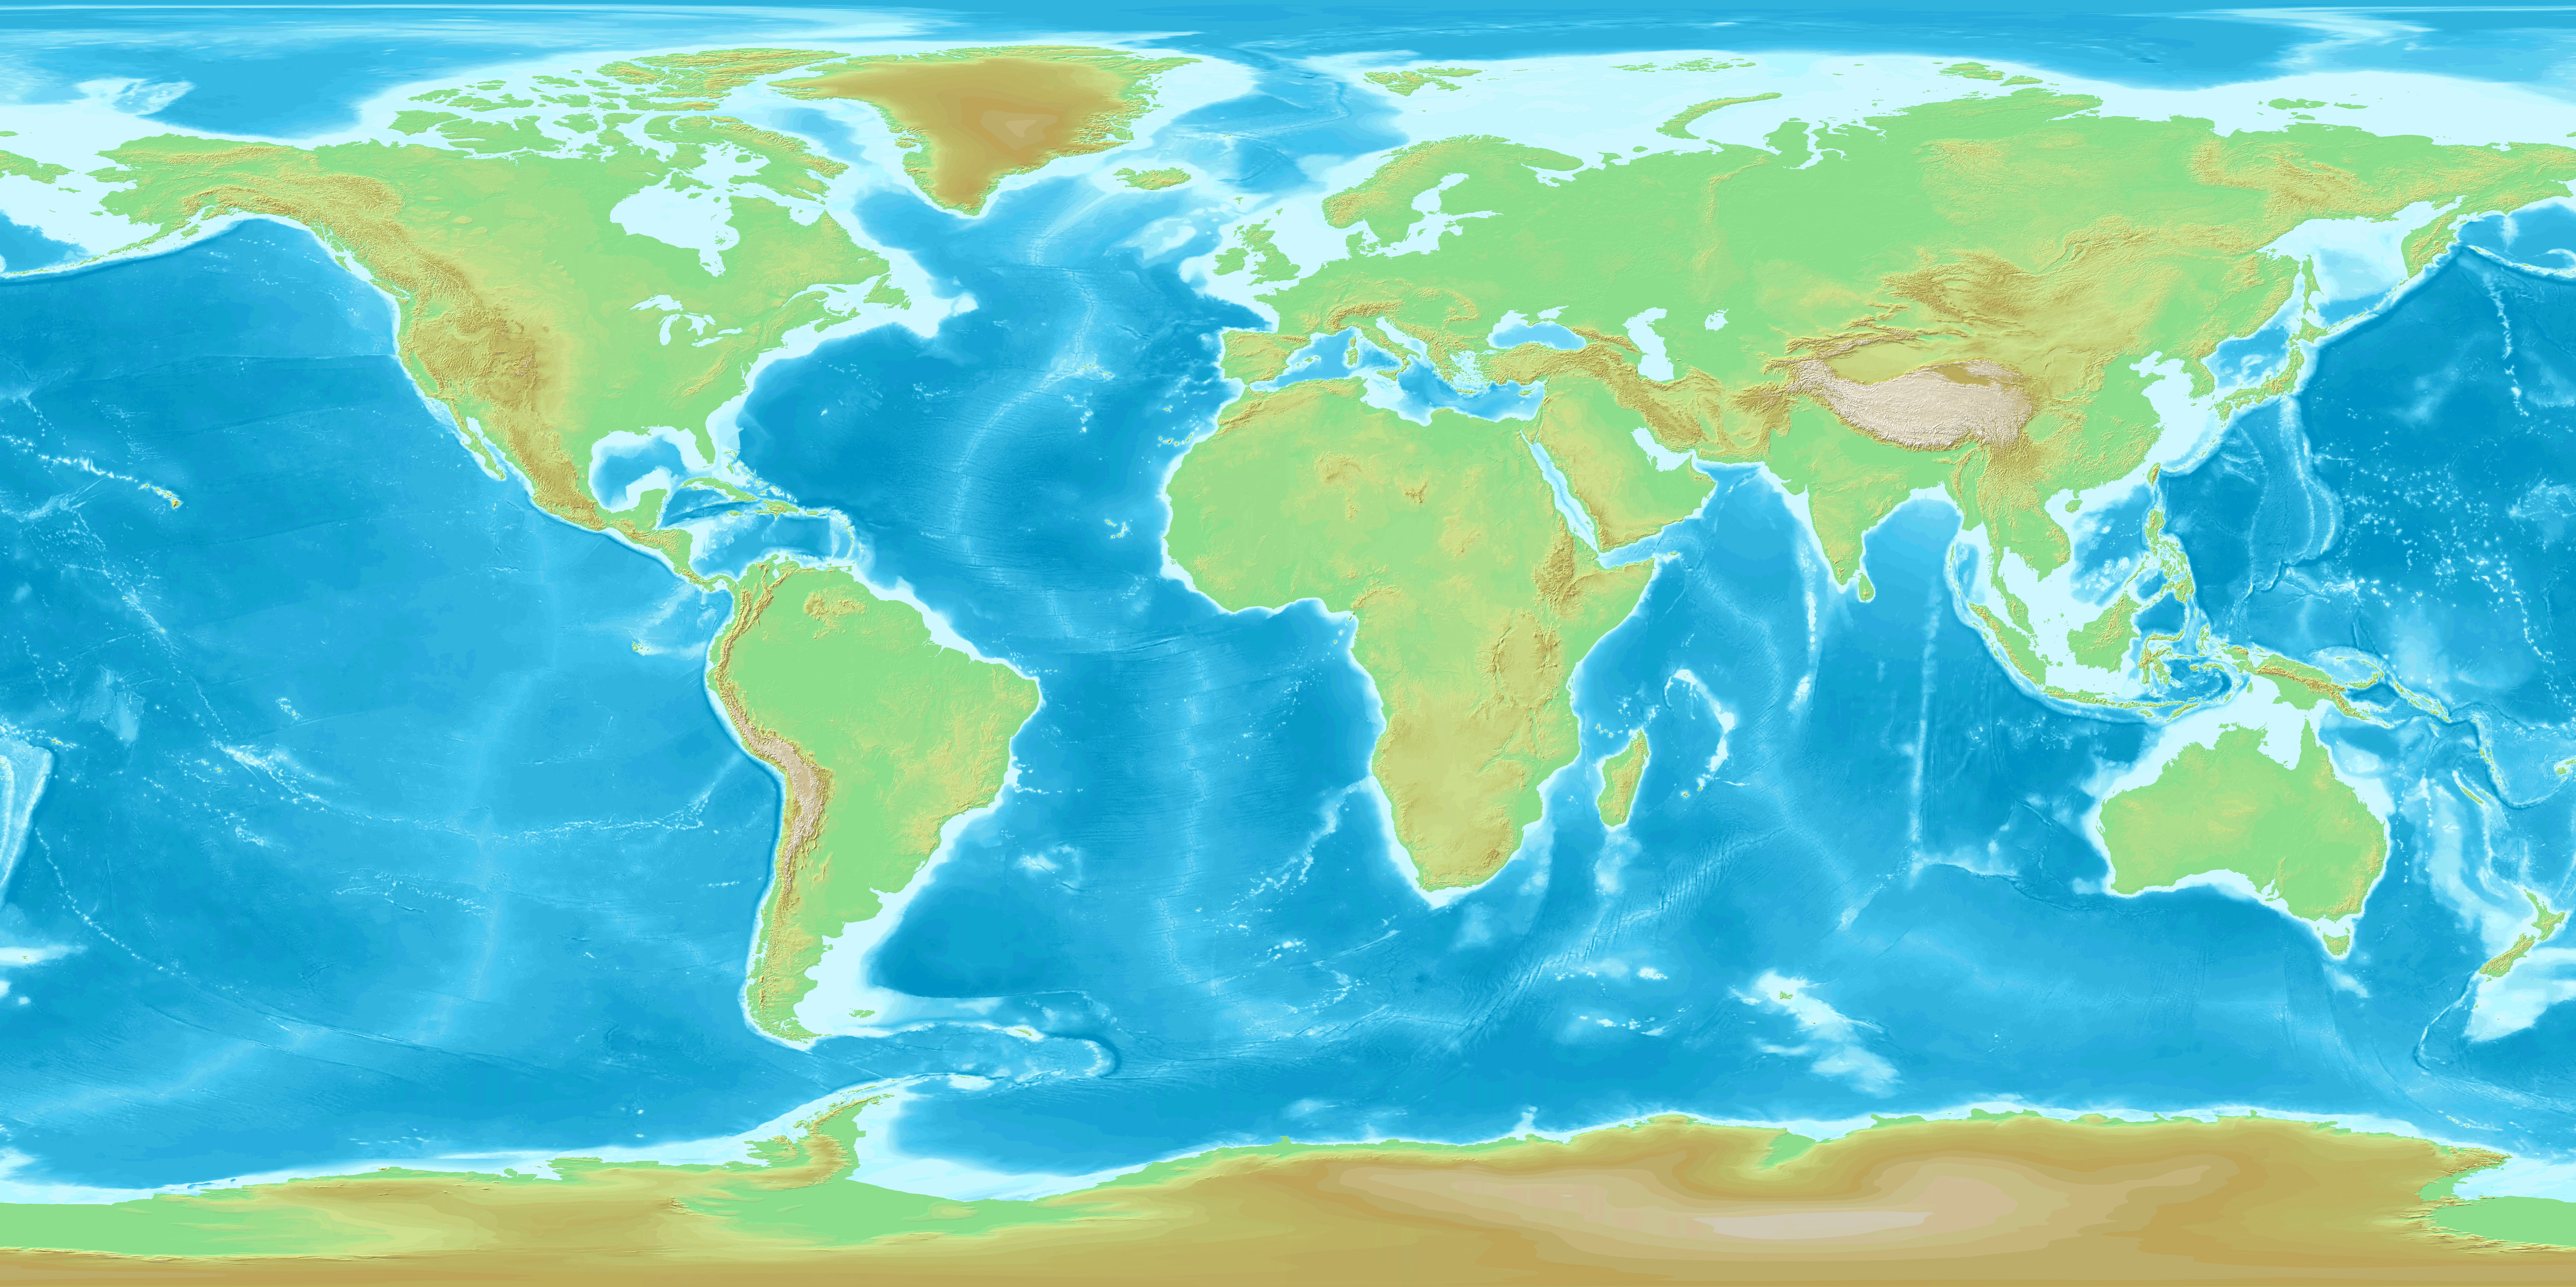
- Make the larger sphere look like the earth by applying the following texture to it:
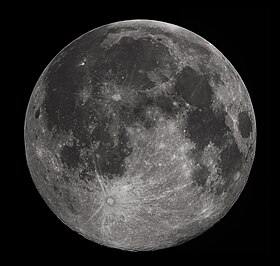
- Make the smaller sphere look like the moon by applying the following texture to it:
- Additional flat texture links.
- You must animate the scene but you do not need to allow the user to change the scene using mouse controls.
- The scene must be animated as follows:
- The earth should rotate slowly.
- Place a light source to the right of the planet to only expose one side of the earth to lighting. This will simulate the effect of day and night on the planet’s surface.
- The moon must rotate on its own axis as it rotates around the earth.
- Your moon should be relatively close to the earth so that the amount of clipping will be minimized.
- Your moon’s orbit should be designed in such a way that at least a portion of the moon should come between the earth and the light source that is positioned to the right of the earth. This should simulate the effect of an eclipse.
- The model does not need to be to scale.
Grading Criteria
- Does the assignment include a sphere geometry textured as the earth? (Yes/No)
- Does the assignment include a sphere geometry textured as the moon? (Yes/No)
- Does the assignment include a light source to the right of the viewport that illuminates the earth and moon as the sun would? (Yes/No)
- Does the earth rotate on its axis? (Yes/No)
- Does the moon rotate on its axis? (yes/no)
- Does the moon rotate in an orbit around the earth? (Yes/No)
- Was the JavaScript / Three.js code well documented (Scale of 1-4 where 1 is no comments and 4 is comprehensive comments)
Answer
- Live demo: https://ahmad-ali14.github.io/AY2025-T2-CS4406/unit6/
- Source code: https://github.com/ahmad-ali14/AY2025-T2-CS4406/blob/main/src/unit6/code.ts
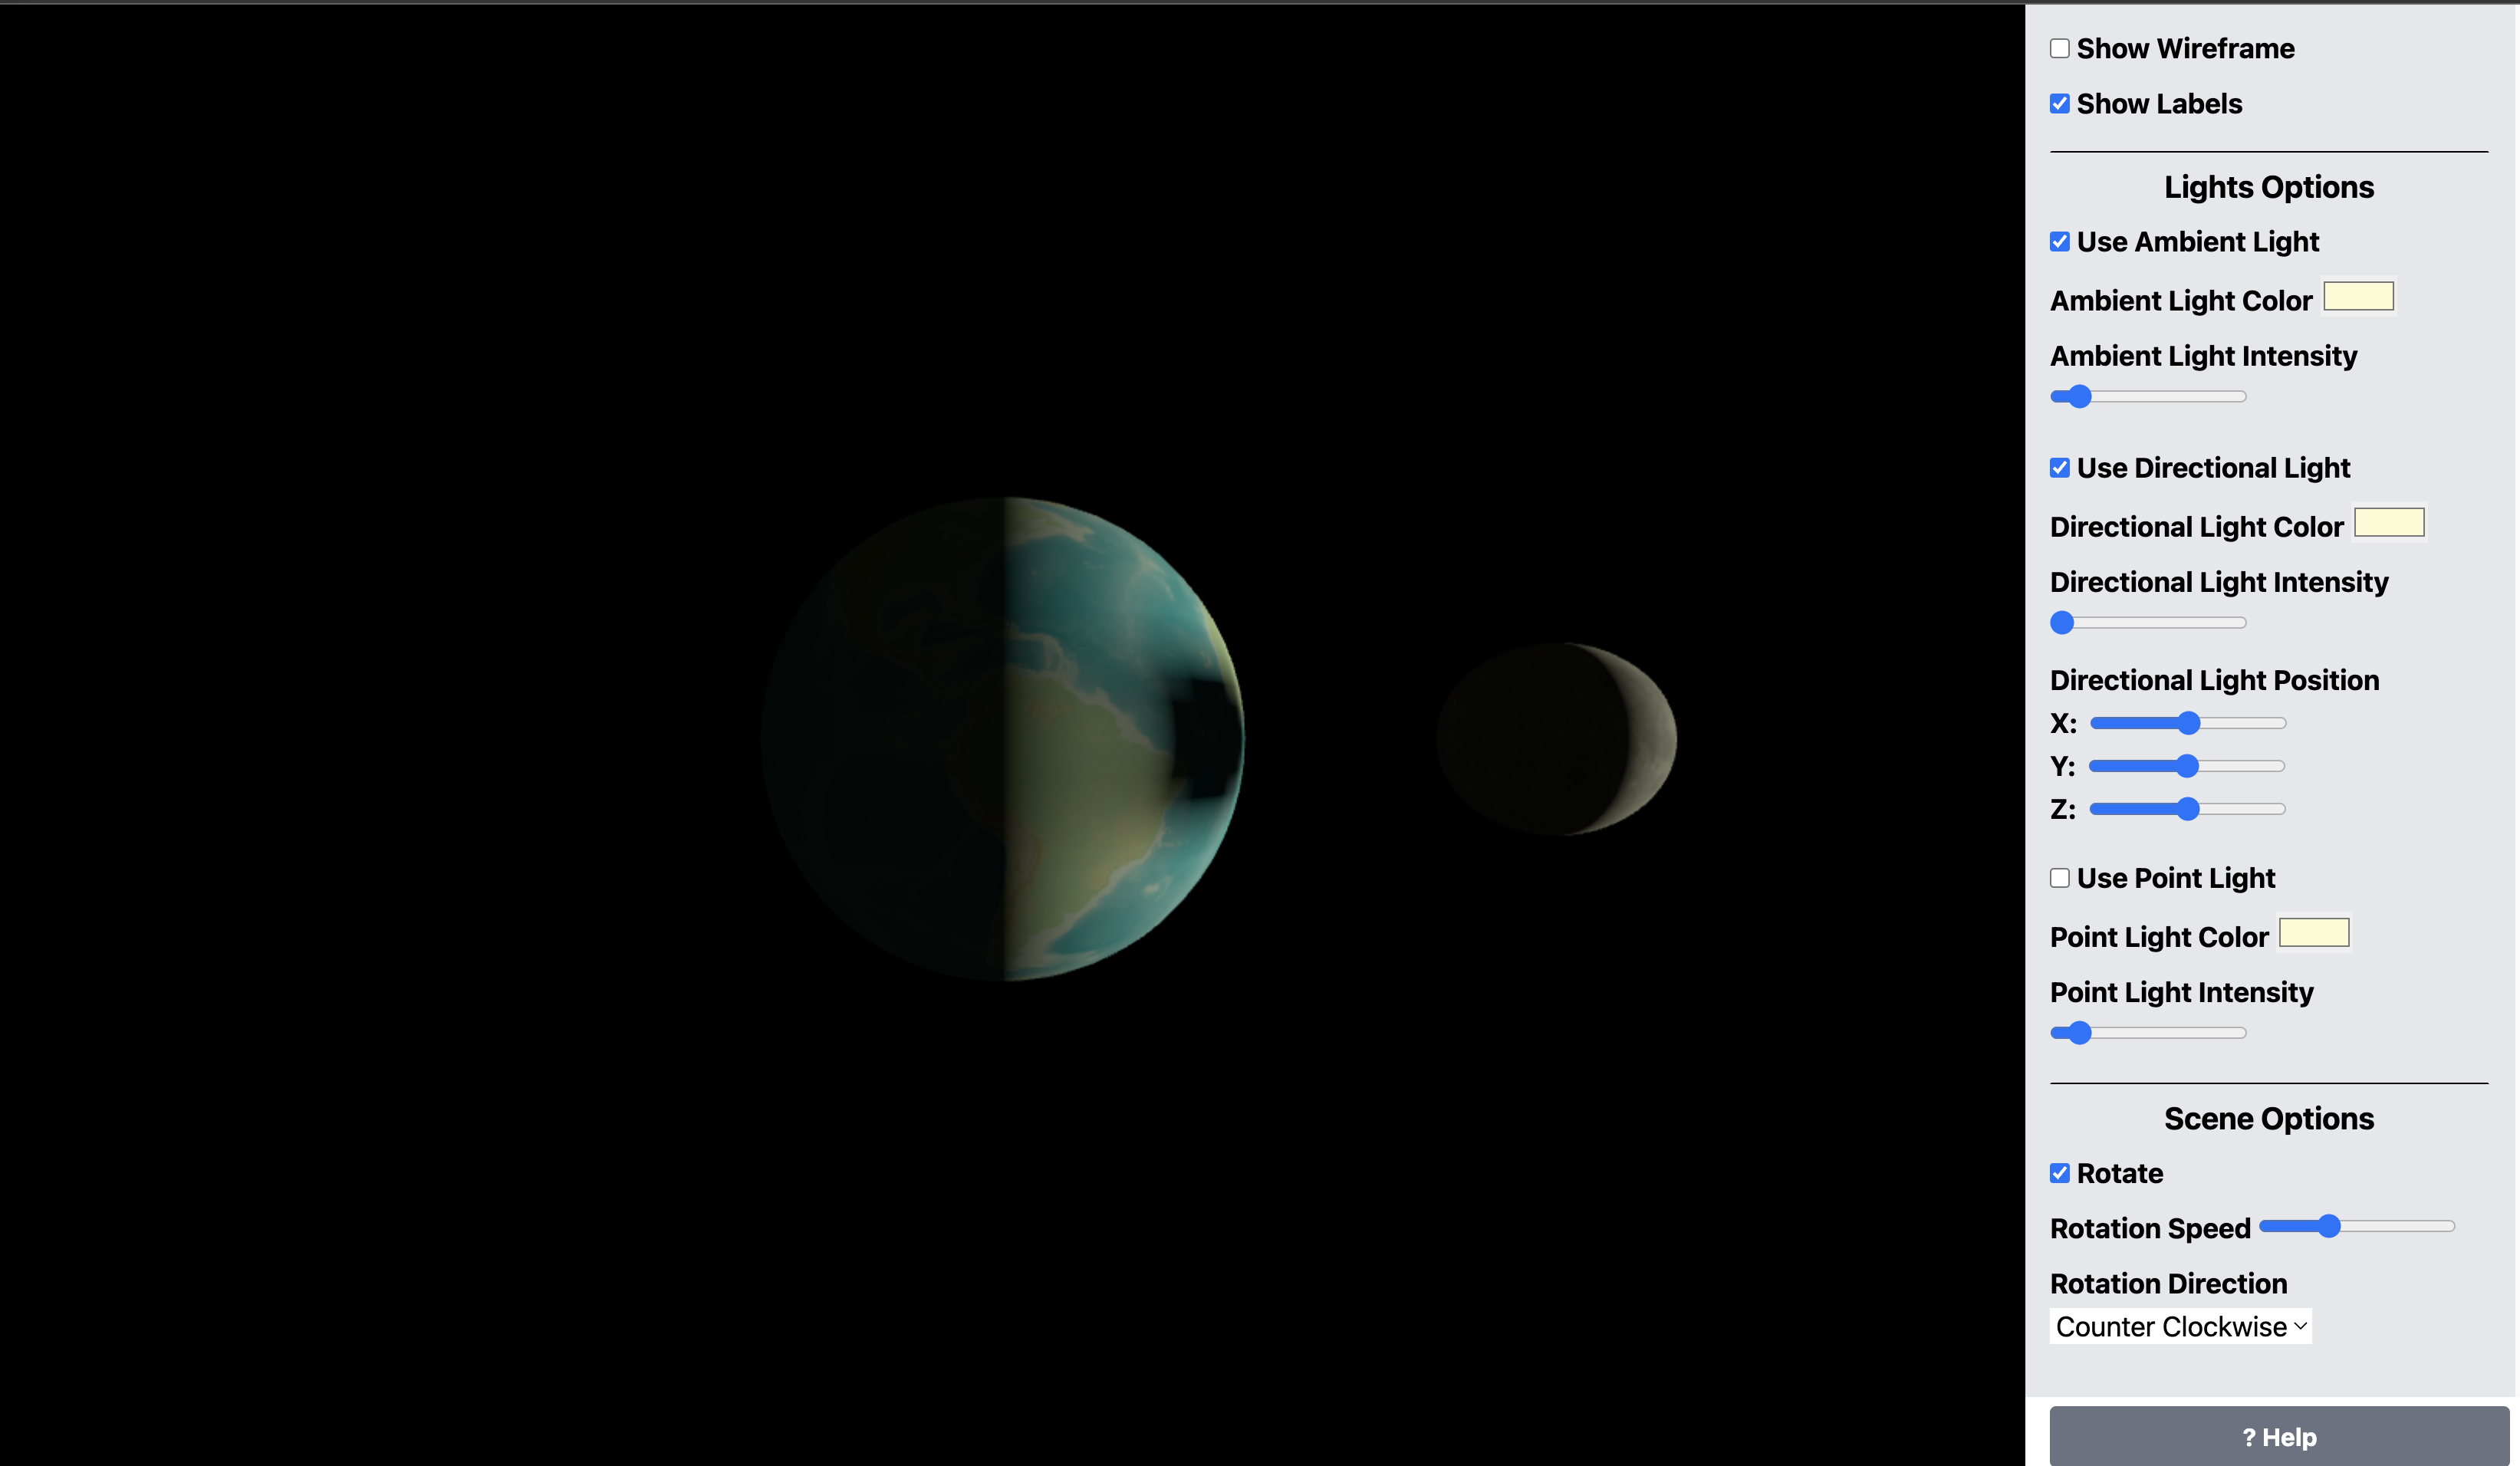
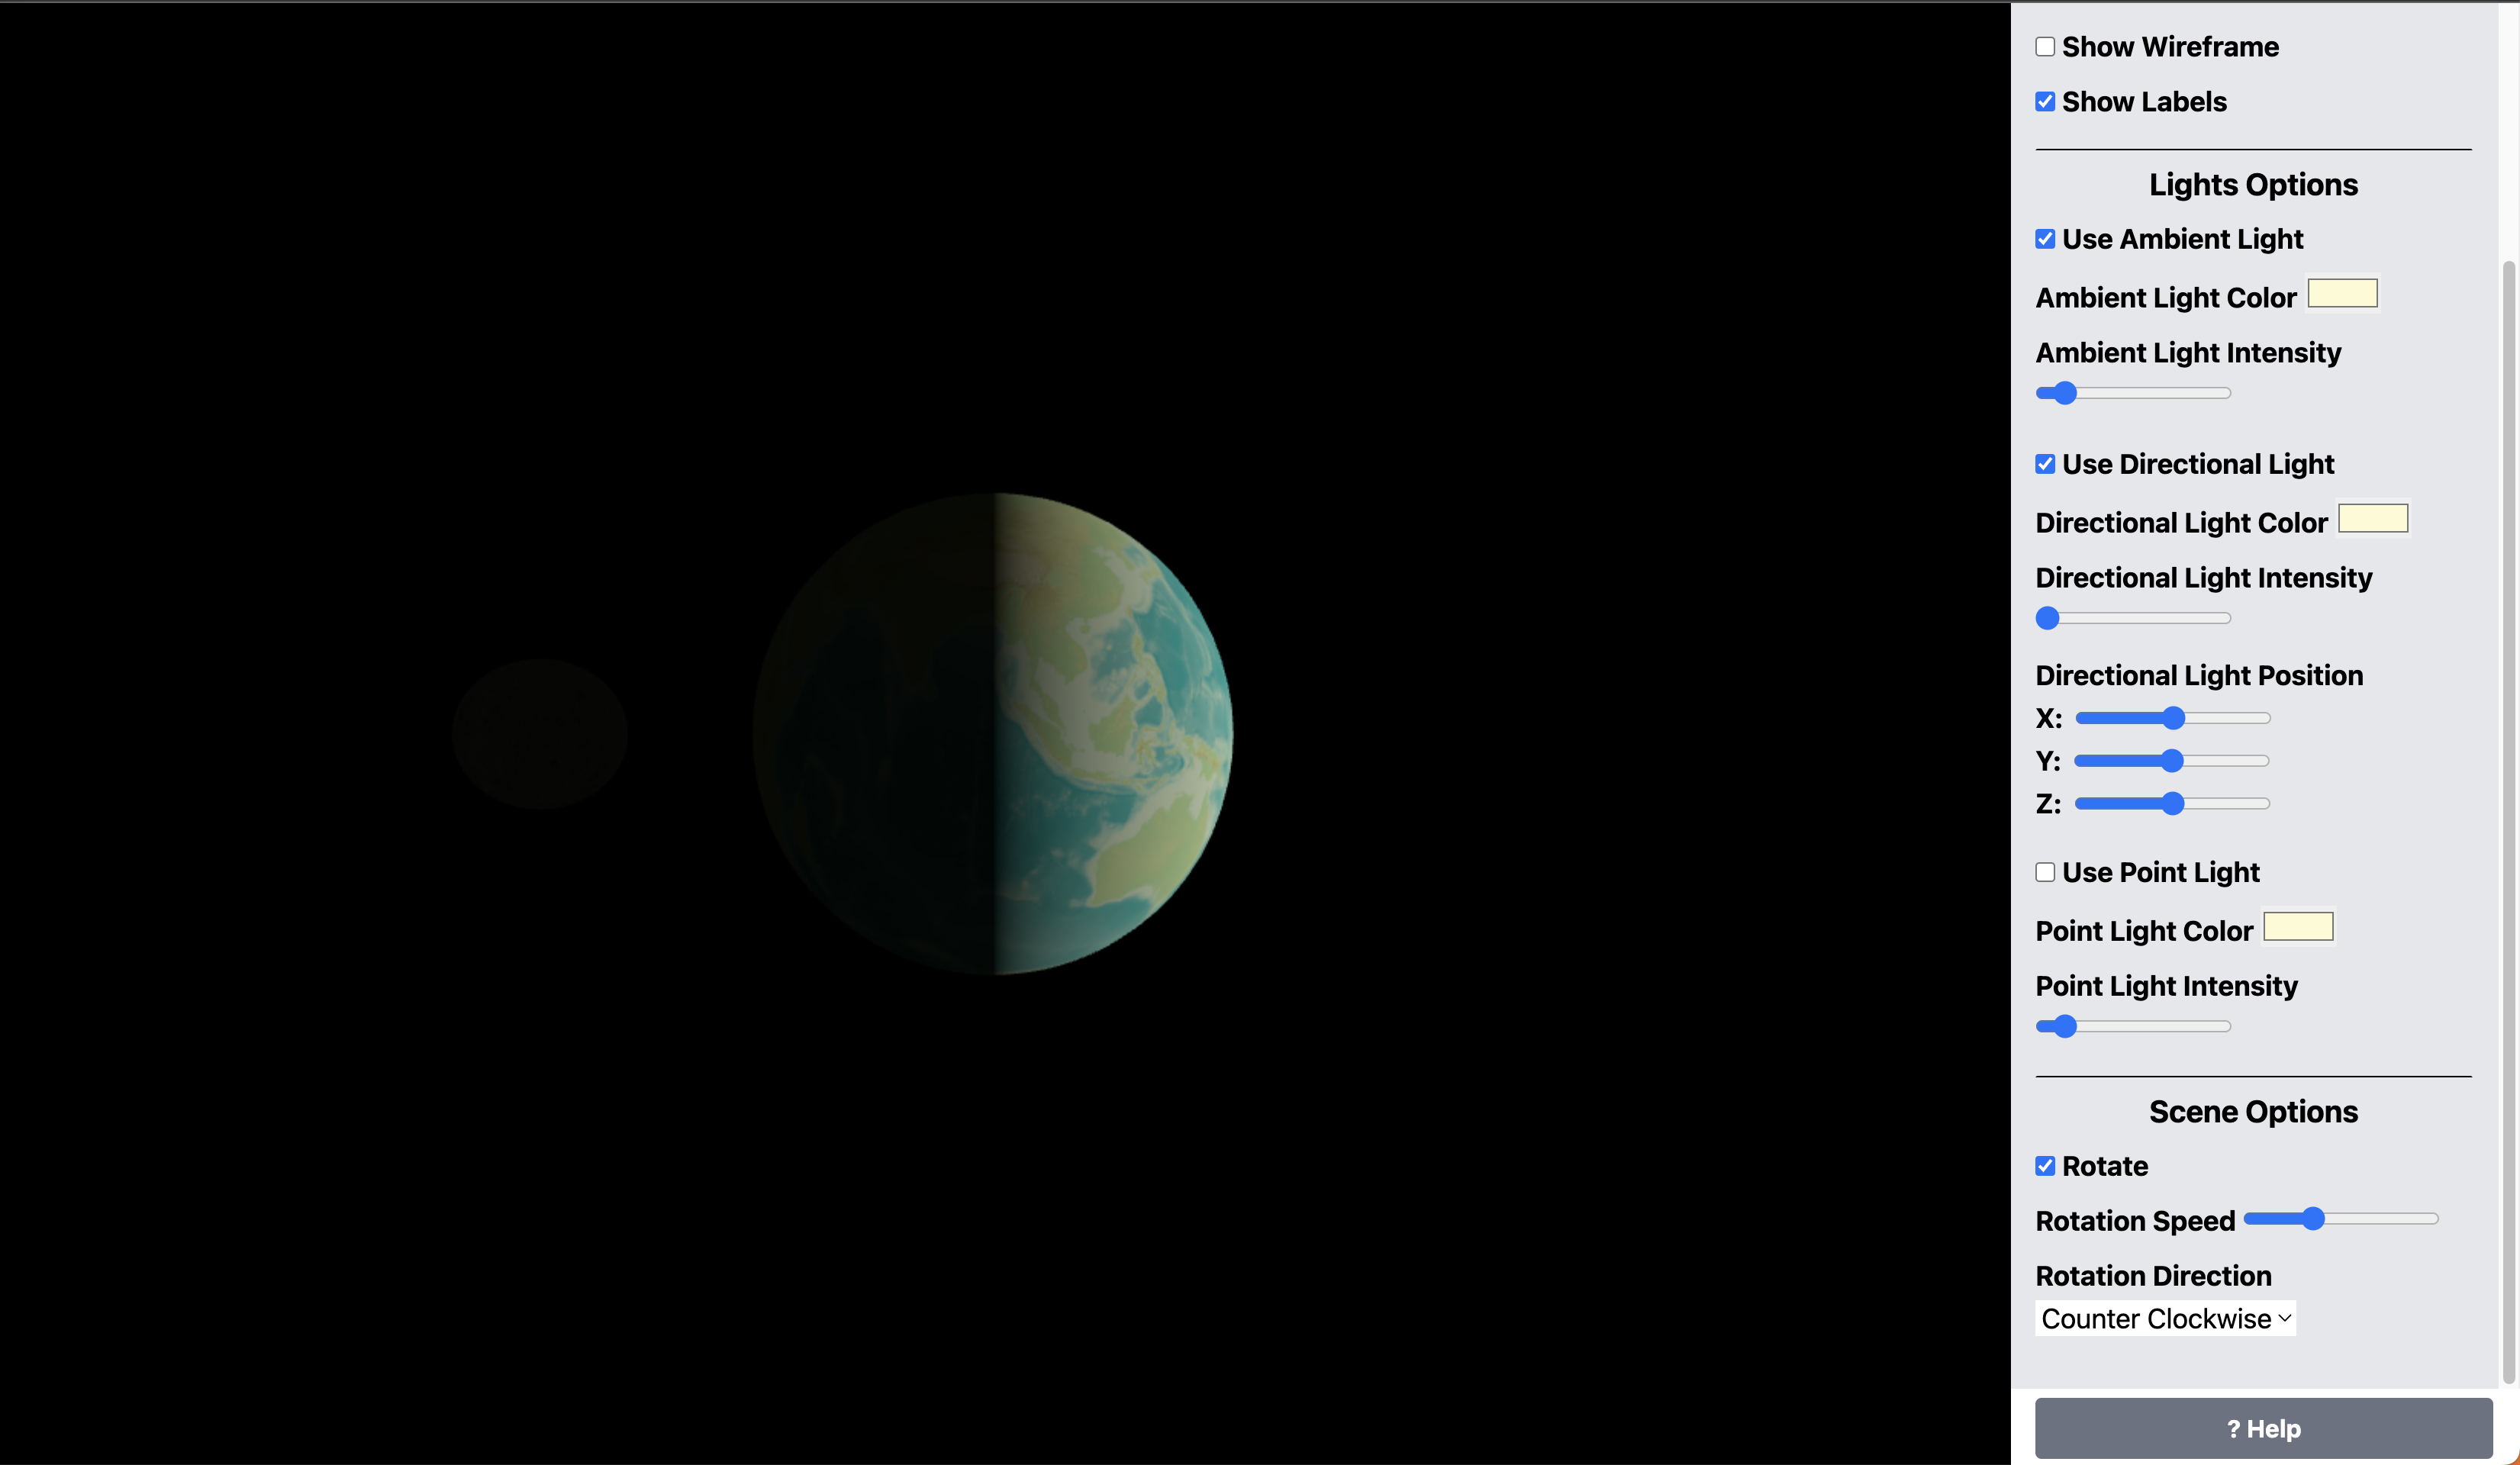
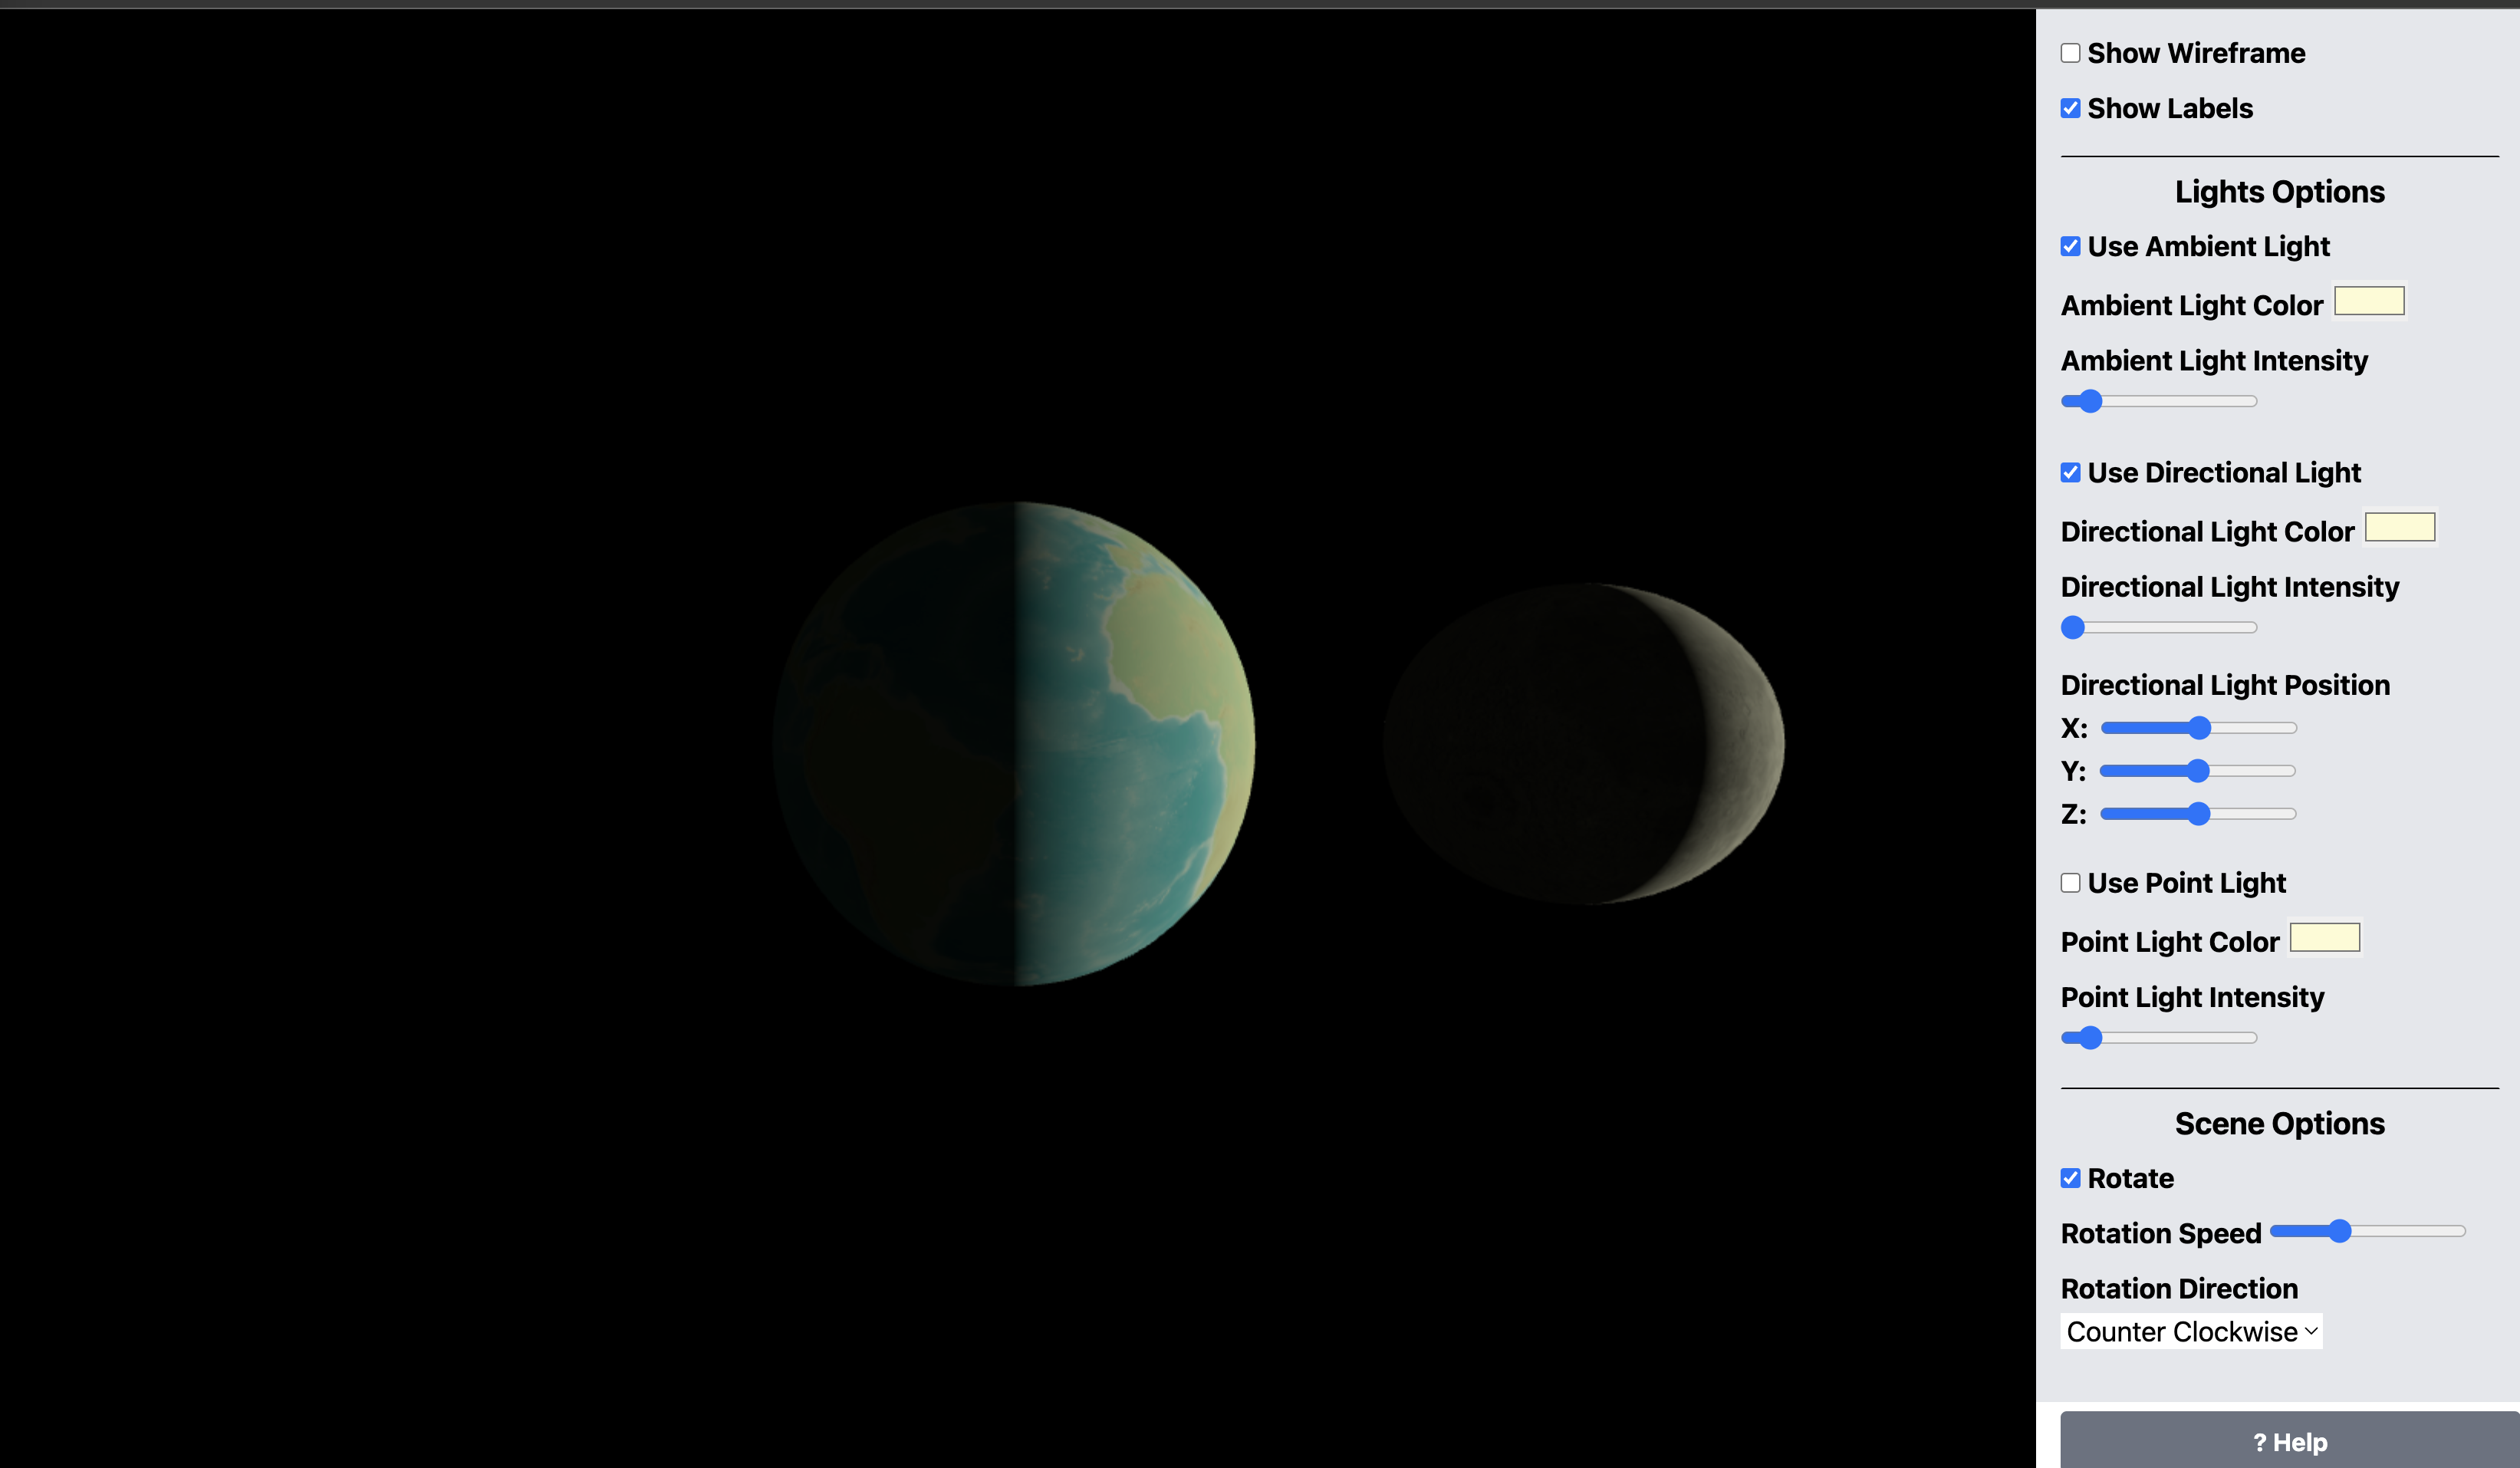
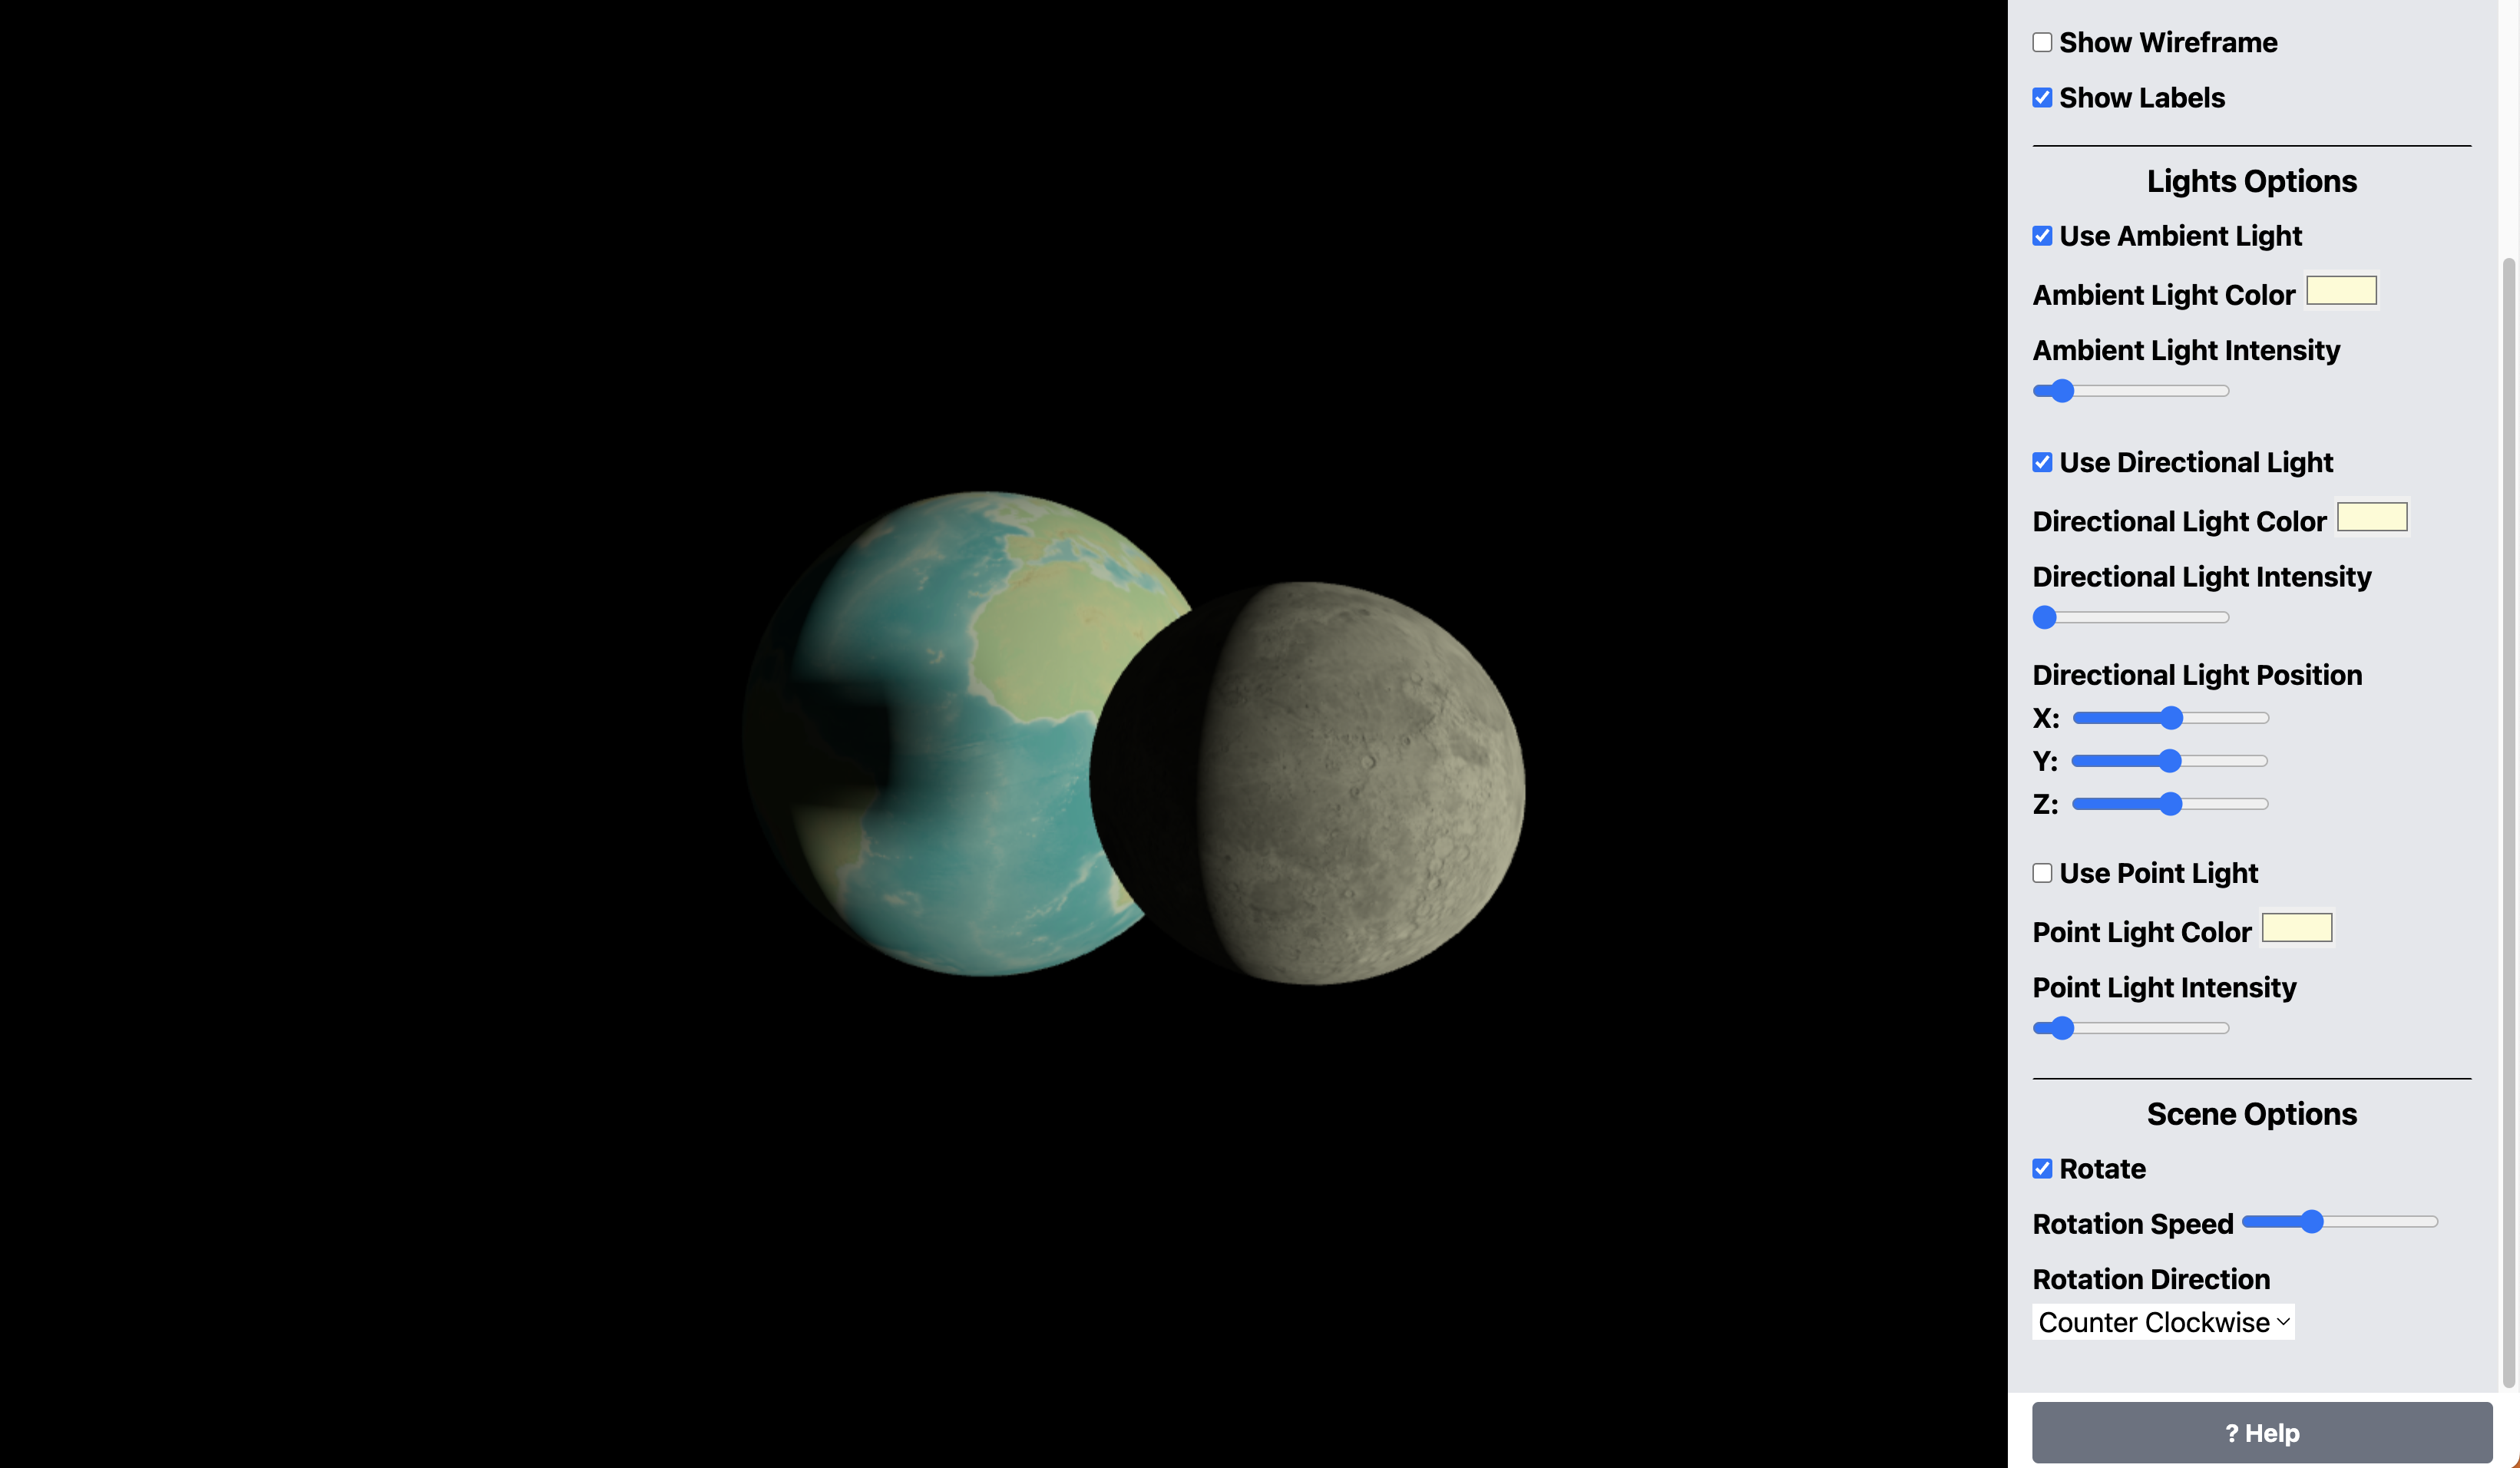
For this assignment, we created a 3D model of the moon rotating around the earth. The earth rotates on its axis, and the moon rotates on its axis as well as around the earth. The moon is positioned so it has some shadow when it comes between the earth and the light source (right center of the scene). Orbit controls are enabled on the scene along with options to control many things like lights, rotation speed and direction, and camera position. See the Options Panel section for more details.
Screenshots
Images 1-4 show the scene from different angles and positions. Notice the Options Panel on the right side of the screen (Images 5-7 in the Options Panel section below).
| Image 1 |
|---|
 |
| Image 2 |
|---|
 |
| Image 3 |
|---|
 |
| Image 4 |
|---|
 |
Code
I will include the code for the basic scene setup to save space; however, the full code is here: https://github.com/ahmad-ali14/AY2025-T2-CS4406/blob/main/src/unit6/code.ts
The code below is the basic code for creating the earth, moon, and rotating them. The parts that create the options panel and the event listeners are included in the createBaseScene function, which I use for all my assignments.
const earthImageUrls = ["https://upload.wikimedia.org/wikipedia/commons/c/cf/WorldMap-A_non-Frame.png", "https://upload.wikimedia.org/wikipedia/commons/thumb/9/97/The_Earth_seen_from_Apollo_17.jpg/300px-The_Earth_seen_from_Apollo_17.jpg"];
const moonImageUrls = ["https://upload.wikimedia.org/wikipedia/commons/d/db/Moonmap_from_clementine_data.png", "https://upload.wikimedia.org/wikipedia/commons/thumb/e/e1/FullMoon2010.jpg/280px-FullMoon2010.jpg"];
const { render, scene, directionalLight, renderer, canvas, shouldShowWireframe, sidebar, addHelpNote, ambientLight } = createBaseScene({
    sceneTitle: "Unit 6: Earth and Moon",
    cameraZ: window.innerHeight / 3,
    cameraFov: 90,
    defaultLightColor: "#fdfbd3", // sun light color
    showAxes: false,
    showGrid: false,
    useAmbientLight: true,
    usePointLight: false,
});

// a base number that all other numbers will be relative to
const bl = 100;
// for easy access to the edges of the scene
const sceneEdges = {
    top: canvas.height / 2,
    bottom: -canvas.height / 2,
    left: -canvas.width / 2,
    right: canvas.width / 2,
};

// earth: geometry + map + material
const earthGeometry = new THREE.SphereGeometry(bl, 32, 32);
const earthMap = new THREE.TextureLoader().load(earthImageUrls[0]!);
const earthMaterial = new THREE.MeshStandardMaterial({
    wireframe: shouldShowWireframe(),
    map: earthMap,
});
const earth = new THREE.Mesh(earthGeometry, earthMaterial);

// moon: geometry + map + material
const moonGeometry = new THREE.SphereGeometry(bl / 3, 32, 32);
const moonMap = new THREE.TextureLoader().load(moonImageUrls[0]!);
const moonMaterial = new THREE.MeshStandardMaterial({
    wireframe: shouldShowWireframe(),
    map: moonMap,
});

const moon = new THREE.Mesh(moonGeometry, moonMaterial);
moon.position.x = bl * 2; // move moon to the right of the earth

scene.add(earth, moon);

// rotate the earth around itself
const rotateEarth = () => {
    earth.rotation.y += bl / 10000;
};

// rotate the moon around itself
const rotateMoon = () => {
    moon.rotation.y += bl / 10000;
};

// move moon around earth in a circular path
const moveMoonAroundEarth = (speed = 1) => {
    moon.position.x = bl * 2 * Math.cos(earth.rotation.y * speed);
    moon.position.z = bl * 2 * Math.sin(earth.rotation.y * speed);
};

/**
 * Setup sun light:
 * - position: center right of the screen
 */
directionalLight.position.set(sceneEdges.right, 0, 0);
directionalLight.intensity = 2;

//setup a low-intensity ambient light to reduce blackness
ambientLight.intensity = bl / 9500;

/**
 * Handling shadows:
 * - configure necessary objects to cast and receive shadows.
 * - configure the directional light position and other properties.
 * - set the light source at the top left corner of the canvas.
 * - configure the shadow camera properties.
 */
renderer.shadowMap.enabled = true;
renderer.shadowMap.type = THREE.PCFSoftShadowMap;

earth.castShadow = true;
earth.receiveShadow = true;
moon.castShadow = true;
moon.receiveShadow = true;

// shadow camera properties
const dlCameraFactor = 20;
directionalLight.castShadow = true;
directionalLight.shadow.camera.near = bl * dlCameraFactor * 0;
directionalLight.shadow.camera.far = bl * dlCameraFactor;
directionalLight.shadow.camera.left = -bl * dlCameraFactor;
directionalLight.shadow.camera.right = bl * dlCameraFactor;
directionalLight.shadow.camera.top = bl * dlCameraFactor;
directionalLight.shadow.camera.bottom = -bl * dlCameraFactor;

/**
 * Animation Loop:
 * - rotate the earth around itself
 * - rotate the moon around itself
 * - move the moon around the earth (if rotation is enabled) with a given speed
 */
const animate = () => {
    requestAnimationFrame(animate);
    rotateEarth();
    rotateMoon();
    const speed = 1;
    moveMoonAroundEarth(speed);
    render();
};
Code Explanation
- The
createBaseScenefunction is used to create the basic scene setup. It returns many variables to the caller, including render, renderer, scene, camera, controls, lights, and other GUI helpers. - The full source code for
createBaseSceneis available here: https://github.com/ahmad-ali14/AY2025-T2-CS4406/blob/main/src/utils/createBaseScene.ts - The
earthandmoonobjects are created usingTHREE.SphereGeometryandTHREE.MeshStandardMaterialwith the respective textures. - The
rotateEarth,rotateMoon, andmoveMoonAroundEarthfunctions are used to animate the earth and moon. - The
directionalLightis positioned to the right of the scene to simulate the sun’s position, and theambientLightis used to reduce the blackness in the scene. - The color of the
directionalLightis set to a light yellow color to simulate sunlight. - Shadows are enabled for the
earthandmoonobjects, and the shadow camera properties are configured for thedirectionalLight.
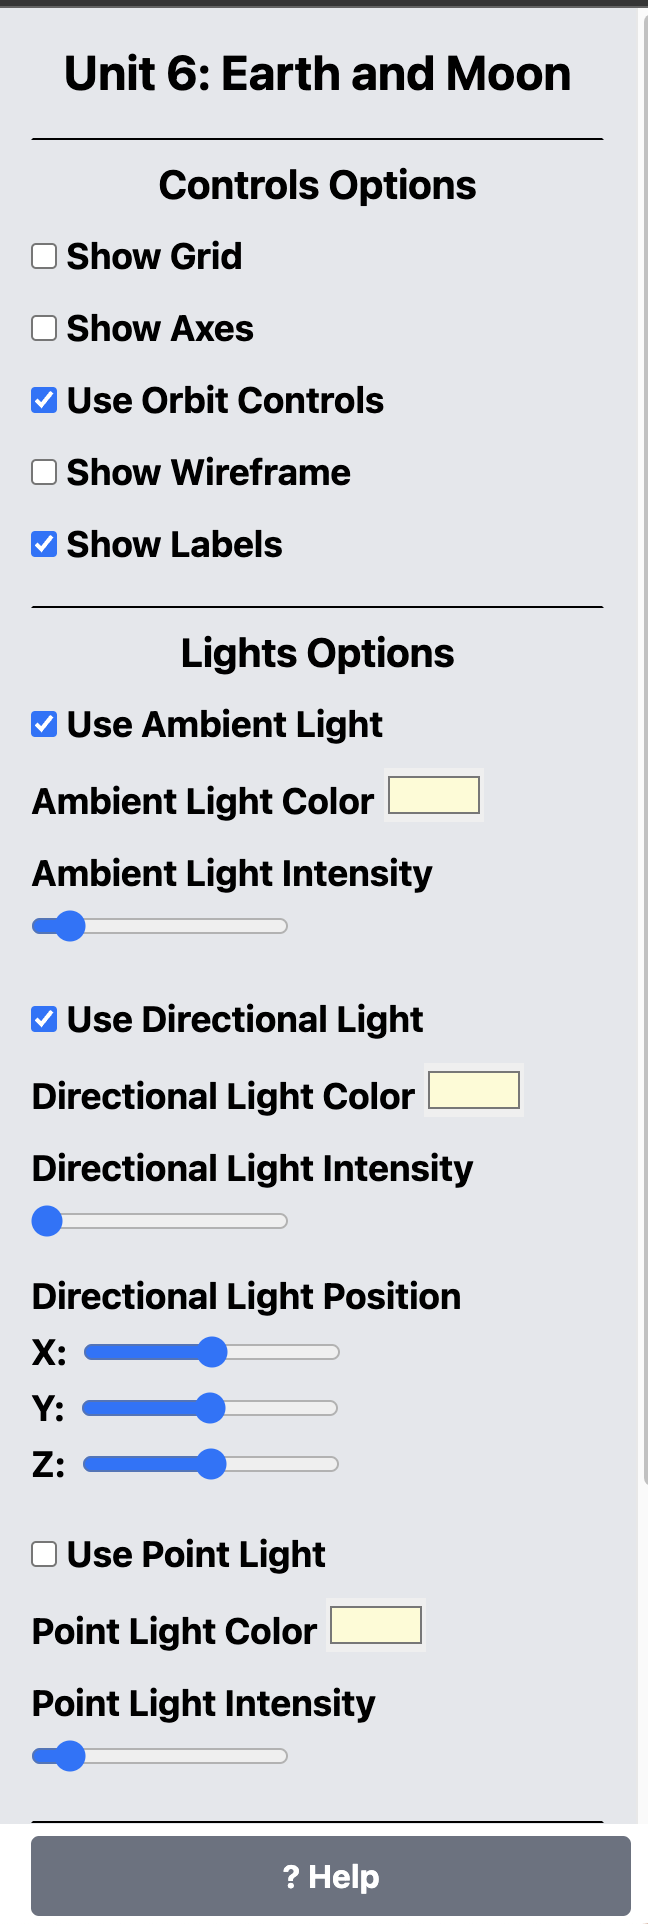
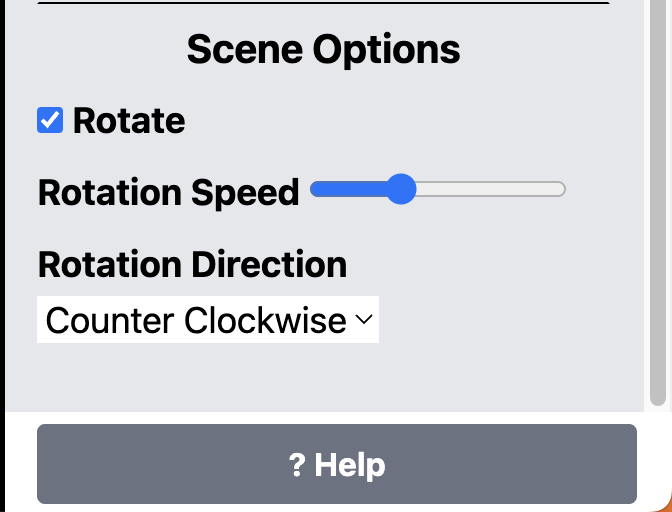
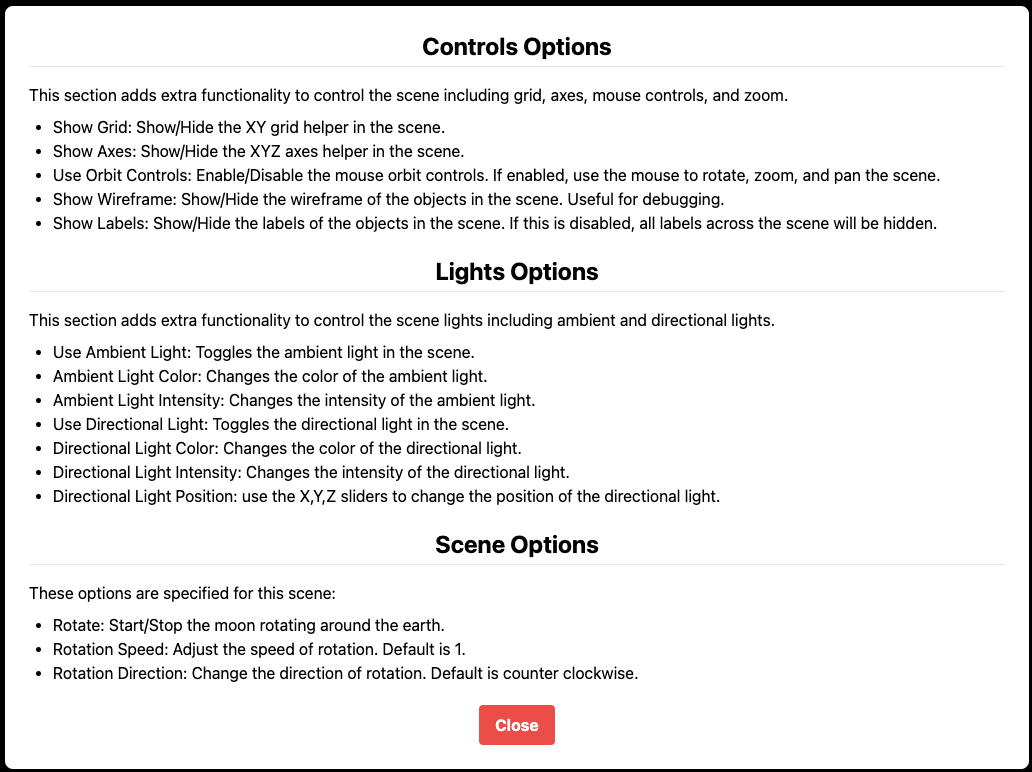
Options Panel
The Options Panel is a GUI panel lies on the right side of the screen. It contains the following options (see images 5-6 below), and the explanation of each option is as follows (Image 7) and can be displayed by clicking the Help button at https://ahmad-ali14.github.io/AY2025-T2-CS4406/unit6/:
| Image 5 |
|---|
 |
| Image 6 |
|---|
 |
| Image 7 |
|---|
 |
Conclusion
| - | Link |
|---|---|
| Live demo | https://ahmad-ali14.github.io/AY2025-T2-CS4406/unit6/ |
| Source code | https://github.com/ahmad-ali14/AY2025-T2-CS4406/blob/main/src/unit6/code.ts |
References
- Learning Guide Unit 6: Introduction | Home. (2024). Uopeople.edu. https://my.uopeople.edu/mod/book/view.php?id=444295&chapterid=540616
- Massachusetts Institute of Technology (2020). Coordinates and Transformations. MITOpenCourseware.https://ocw.mit.edu/courses/electrical-engineering-and-computer-science/6-837-computer-graphics-fall-2012/lecture-notes/.
- National Open University of Nigeria (2009). Introduction to Computer Graphics and Animation. https://nou.edu.ng/coursewarecontent/CIT371.pdf