WA5. Chemical Molecule
Statement
For the unit 5 assignment, you will utilize many of the capabilities that we have already learned within the course to create, using geometry, lighting, color, transformation, and the other aspects of the 3D graphics environment, a model of the Methane molecule. The methane molecule is comprised of 5 atoms, including 1 carbon atom and 4 hydrogen atoms.
- Your model should look like the figure above and be constructed using sphere objects for the atoms and cylinders or tubes to represent the bonds. The cylinders should be perpendicular to the sphere’s surface and at the center of them.
- Use any blue color tone for the hydrogen atoms, any red color tone for the carbon atom, and the bonds should be white with light gray for the emissive.
- You must enable animation for your model, and mouse controls should be enabled so that your program’s user can rotate the molecule in any direction.
- You must also add a green-colored plane object to your scene. The plane object provides a flat surface under the object that can both reflect light and show the shadows created by the object’s position interacting with the light source.
- Make sure that only YOUR OBJECT moves and not the plane.
Grading Criteria
- Are the objects the correct colors (red, blue, white, and green)? (Yes/No)
- Does the assignment display a plane in the scene? (Yes/No)
- Are the cylinders perpendicular to the sphere’s surface and at the center of them? (Yes/No)
- Does the object within the assignment generate shadows on the plane’s surface as it interacts with the lighting source? (Yes/No)
- Are mouse controls enabled so that the molecule object can be rotated in both x and y directions by the user? (Yes/No)
- Do the mouse controls move only the object and not the plane or lighting sources? (Yes/No)
- Was the javascript / Three.js code well documented (Scale of 1-4 where 1 is no comments and 4 is comprehensive comments)
Answer
Introduction
- Live demo: https://ahmad-ali14.github.io/AY2025-T2-CS4406/unit5/
- Source code: https://github.com/ahmad-ali14/AY2025-T2-CS4406/blob/main/src/unit5/code.ts
For this assignment, we created a 3D model of the Methane molecule using spheres for the atoms and cylinders for the bonds. The molecule is placed on a green plane object and set to rotate around its Y-axis. Orbit controls are enabled on the scene along with options to control many things like lights, molecule rotation, and camera position. See the Options Panel section for more details.
Screenshots
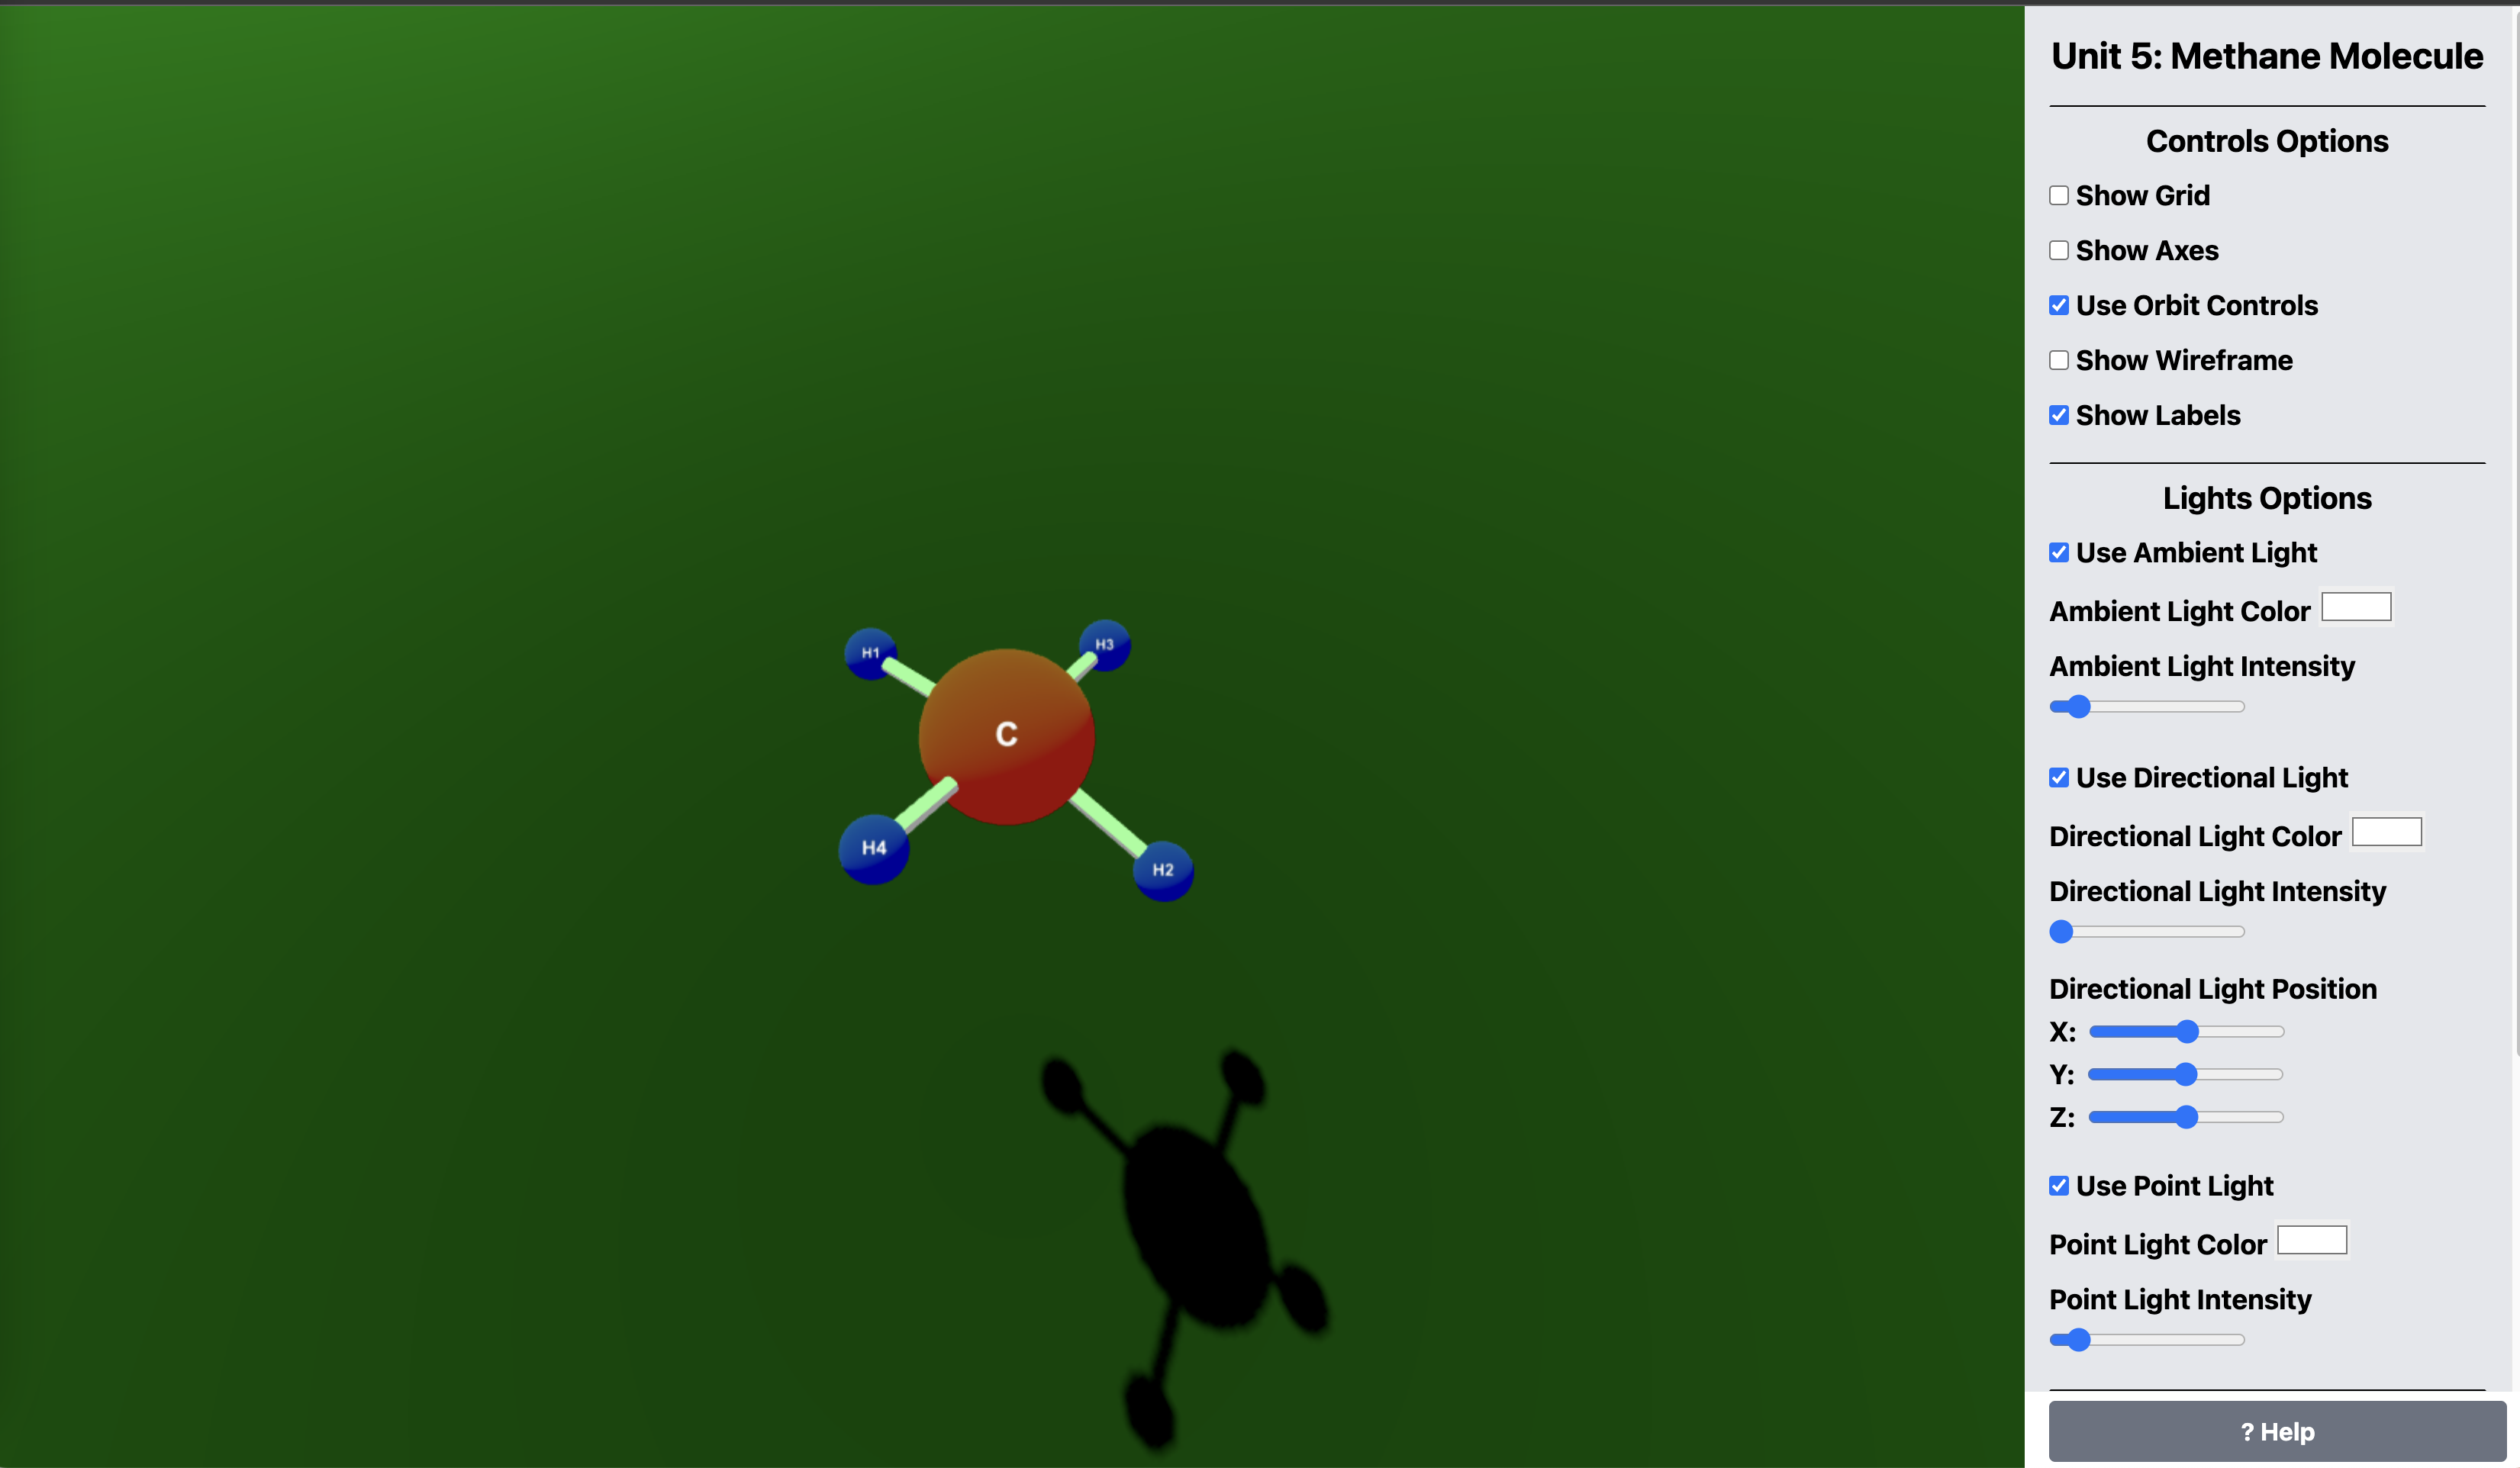
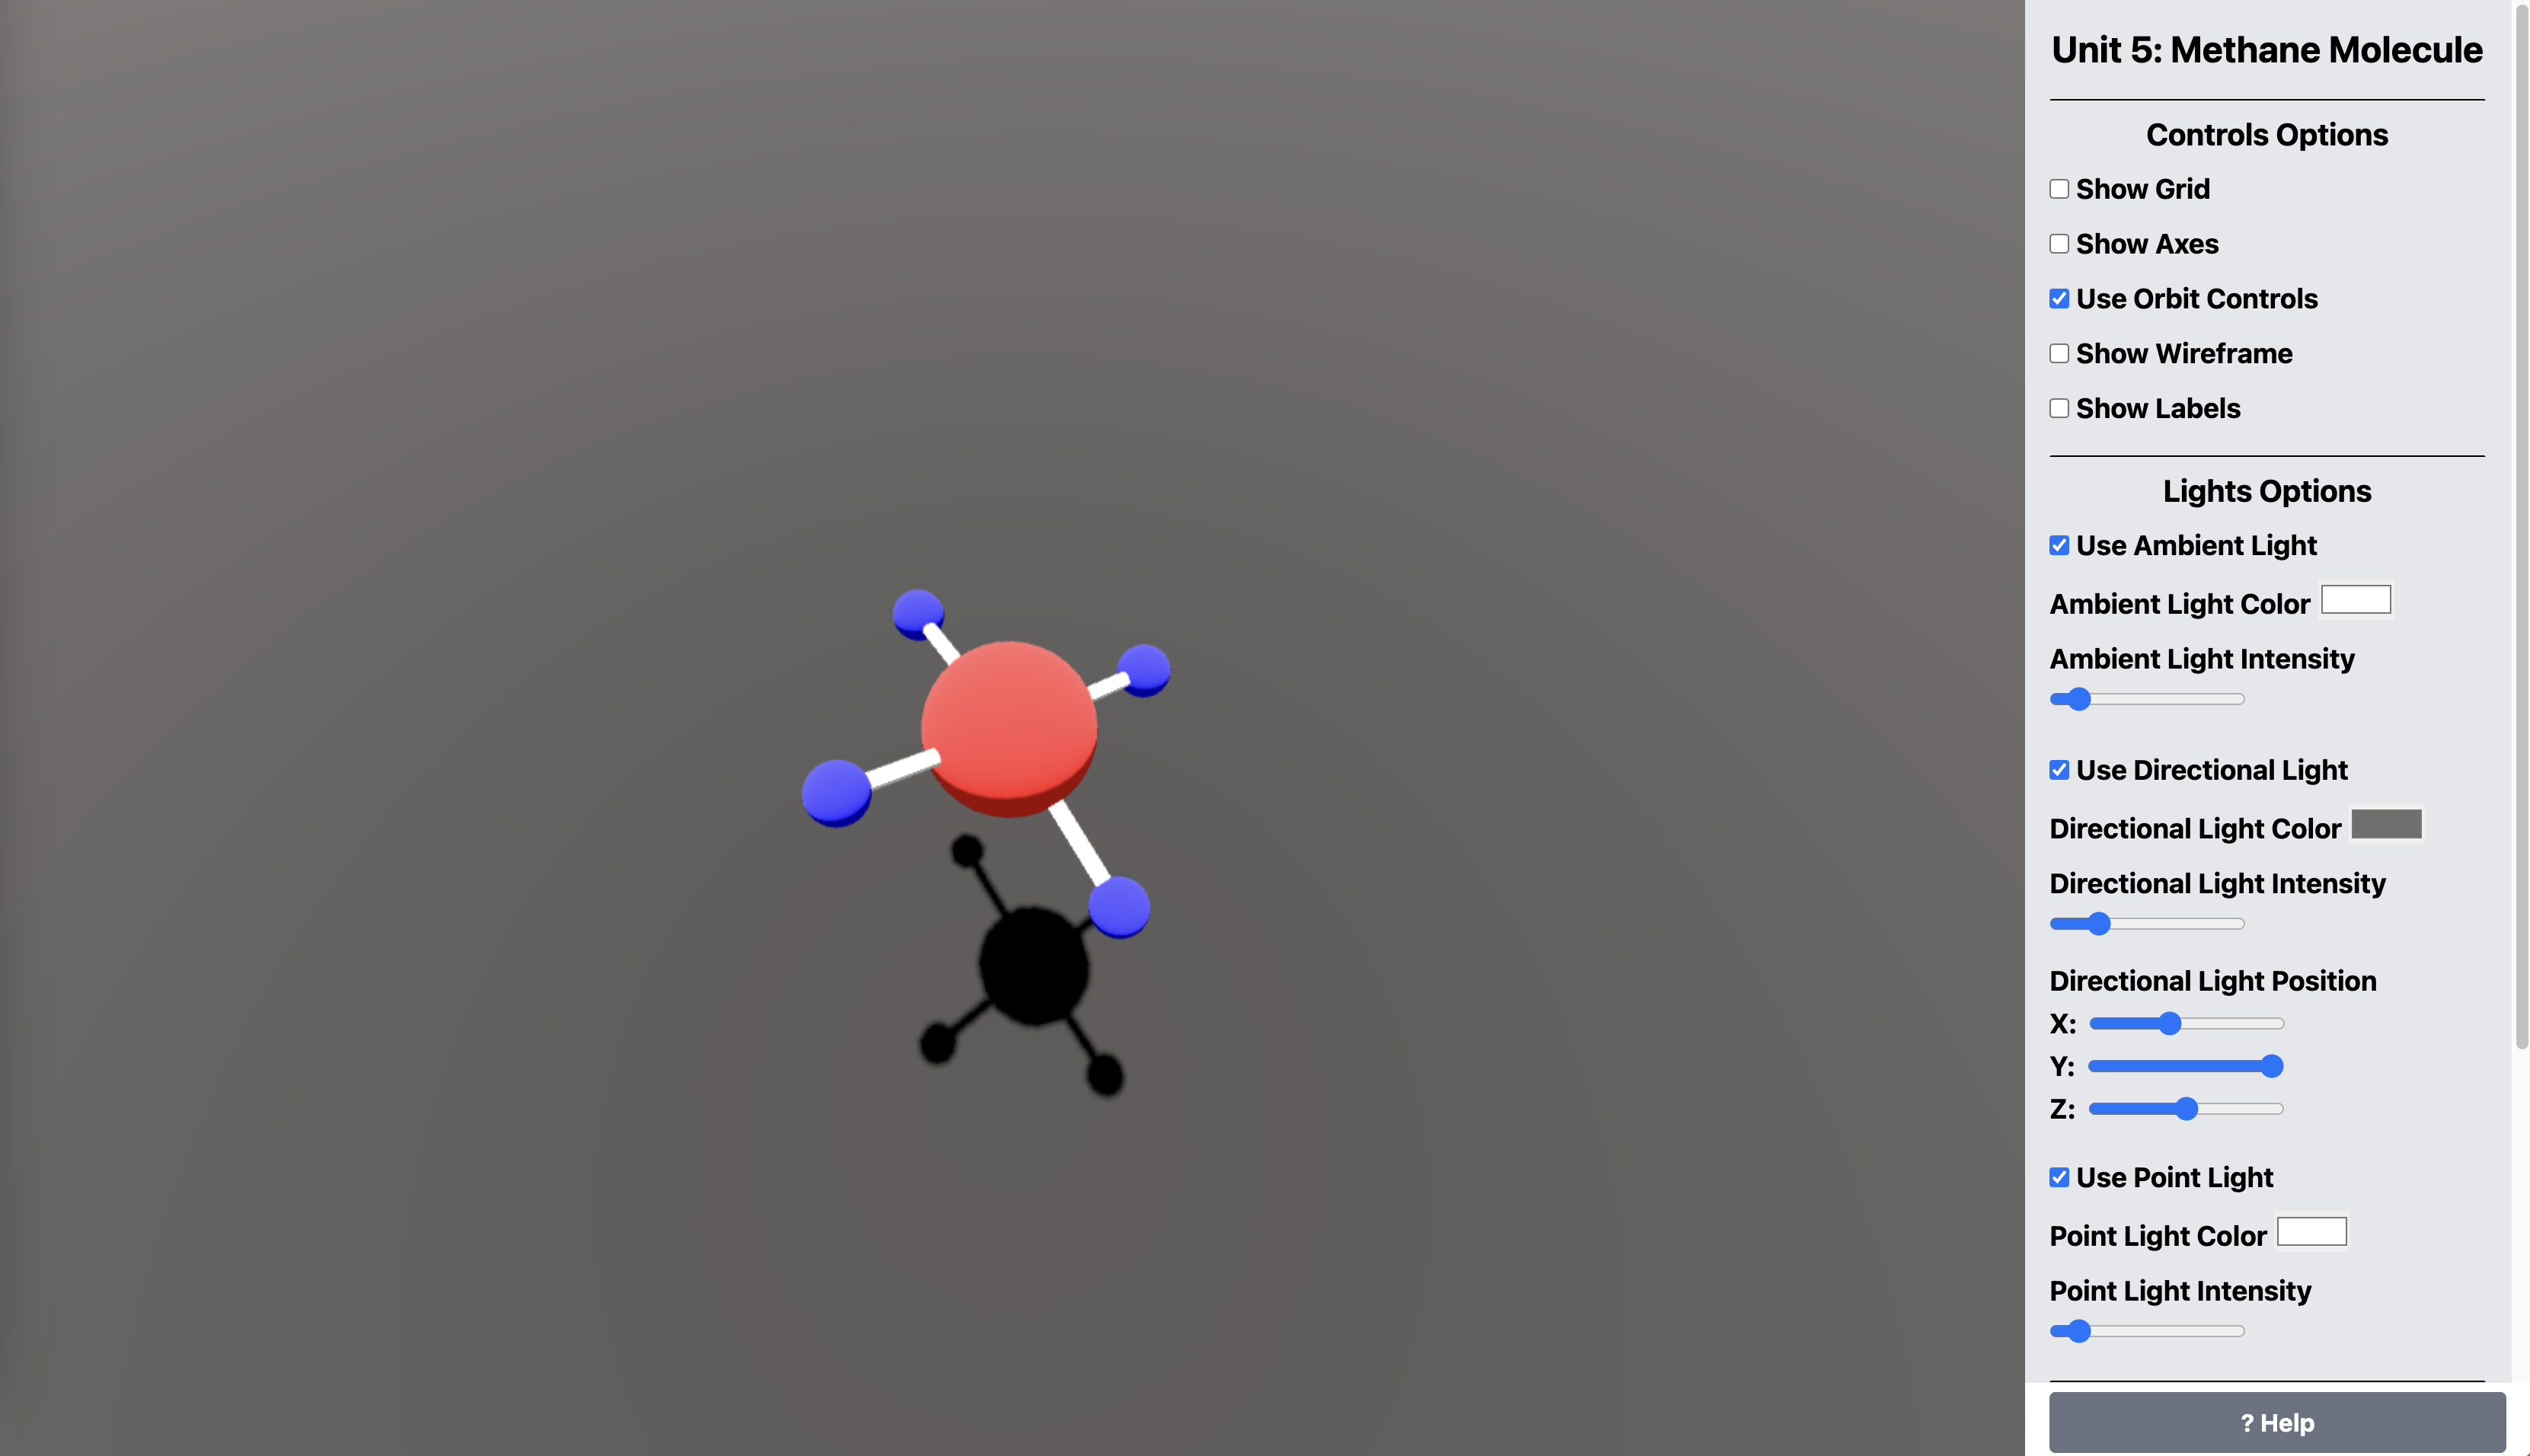
Images 1-4 show the Methane molecule from different angles. Notice the Options Panel on the right side of the screen (Images 5-7 in the Options Panel section below).
| Image 1: screenshot of the scene with labels shown. |
|---|
 |
| Image 2: screenshot of the scene |
|---|
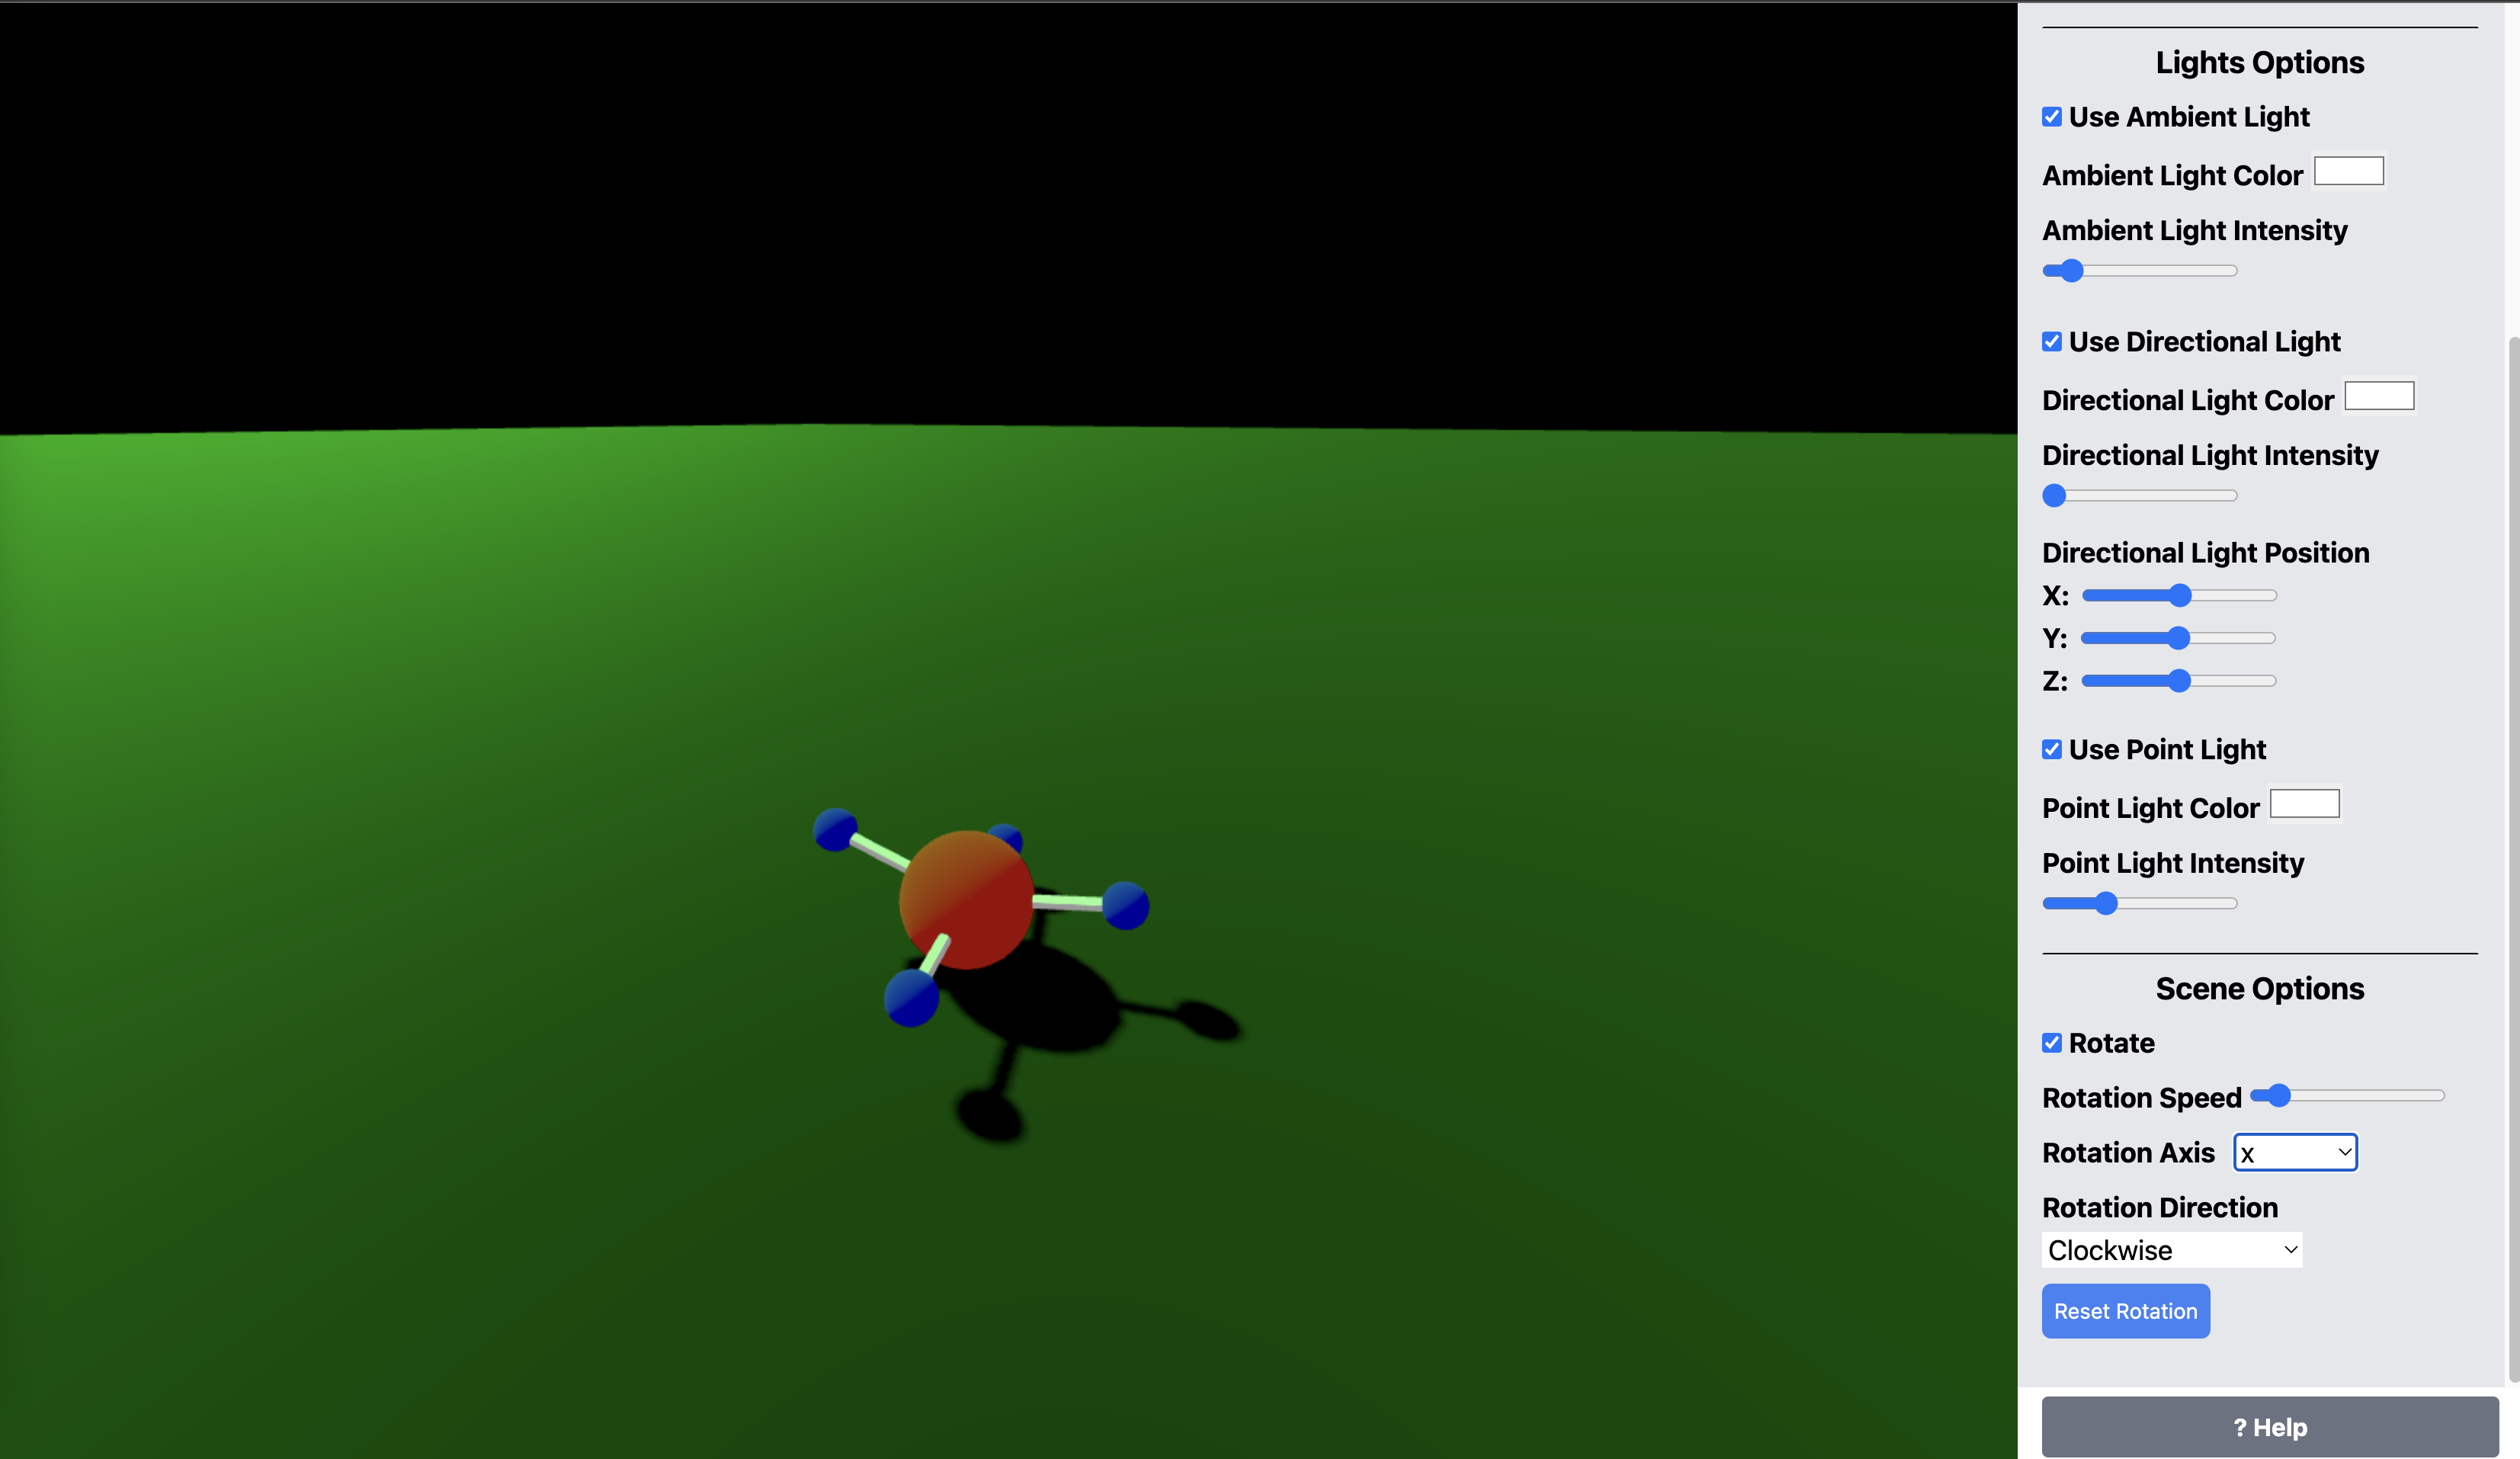 |
| Image 3: screenshot of the scene with different rotation. |
|---|
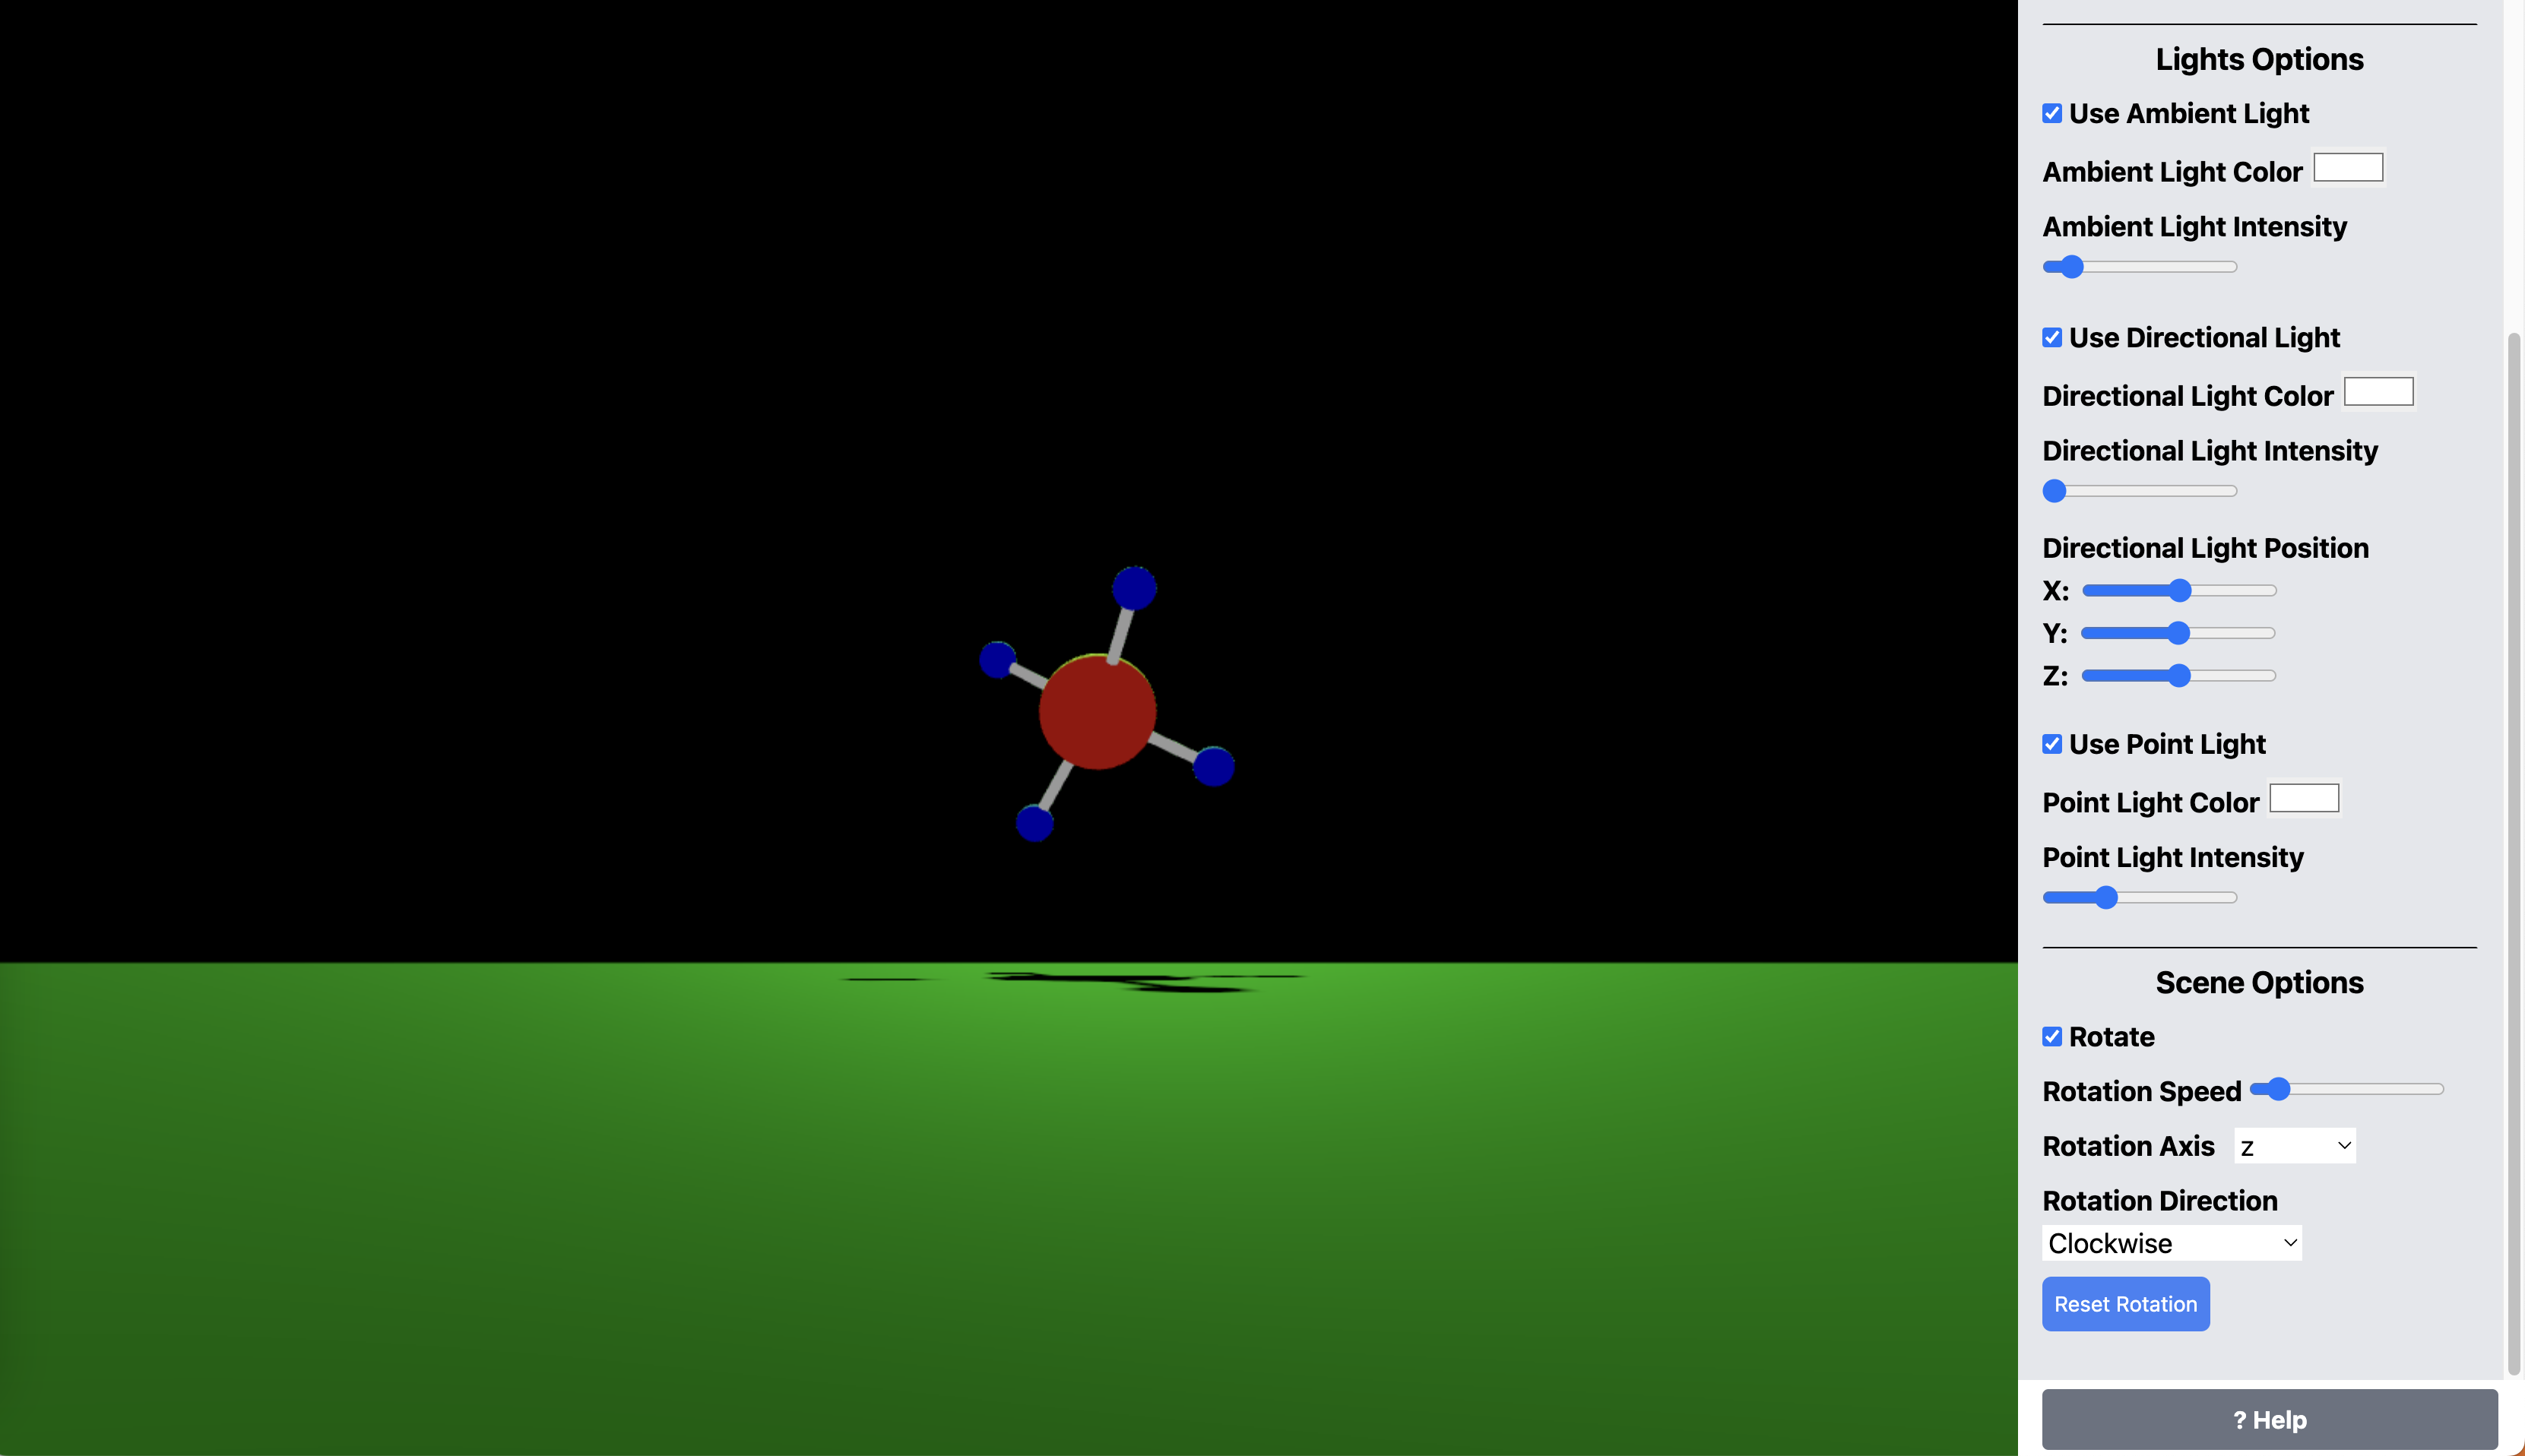 |
| Image 4: Screenshot of the scene with different light color & position. |
|---|
 |
Code
I will include the code for the basic scene setup to save space; however, the full code is here: https://github.com/ahmad-ali14/AY2025-T2-CS4406/blob/main/src/unit5/code.ts
The code below is the basic code for creating the Methane molecule and adding the atoms and bonds to it. The parts that create the options panel and the event listeners are included in the createBaseScene function, which I use for all my assignments.
const { render, scene, directionalLight, renderer, canvas, camera, shouldShowLabels, shouldShowWireframe, sidebar, addHelpNote } = createBaseScene({
    sceneTitle: "Unit 5: Methane Molecule",
    cameraZ: window.innerHeight * 20,
    cameraFov: 90,
    defaultLightColor: "#ffffff",
    showAxes: false,
    showGrid: false,
});

const bondLength = 200; // bond length, a base for  other sizes and positions
const carbonRadius = bondLength / 2;
const hydrogenRadius = bondLength / 6;

const carbonAtomGeometry = new THREE.SphereGeometry(carbonRadius, 32, 32);
const carbonAtomMaterial = new THREE.MeshStandardMaterial({
    color: THREE.Color.NAMES.red,
});
const carbon___Atom = new THREE.Mesh(carbonAtomGeometry, carbonAtomMaterial);

const hydrogenAtomGeometry = new THREE.SphereGeometry(hydrogenRadius, 32, 32);
const hydrogenAtomMaterial = new THREE.MeshStandardMaterial({
    color: THREE.Color.NAMES.blue,
});

const hydrogenAtom1 = new THREE.Mesh(hydrogenAtomGeometry, hydrogenAtomMaterial);
const hydrogenAtom2 = new THREE.Mesh(hydrogenAtomGeometry, hydrogenAtomMaterial);
const hydrogenAtom3 = new THREE.Mesh(hydrogenAtomGeometry, hydrogenAtomMaterial);
const hydrogenAtom4 = new THREE.Mesh(hydrogenAtomGeometry, hydrogenAtomMaterial);

const bondGeometry = new THREE.CylinderGeometry(10, 10, bondLength, 32);
const bondMaterial = new THREE.MeshStandardMaterial({
    color: THREE.Color.NAMES.white,
});

const bond1 = new THREE.Mesh(bondGeometry, bondMaterial);
const bond2 = new THREE.Mesh(bondGeometry, bondMaterial);
const bond3 = new THREE.Mesh(bondGeometry, bondMaterial);
const bond4 = new THREE.Mesh(bondGeometry, bondMaterial);

const spriteScale = [100, 100, 1] as [number, number, number];
const crLabel = createTextSprite("C", { scale: [200, 200, 1] });
const h1Label = createTextSprite("H1", { scale: spriteScale });
const h2Label = createTextSprite("H2", { scale: spriteScale });
const h3Label = createTextSprite("H3", { scale: spriteScale });
const h4Label = createTextSprite("H4", { scale: spriteScale });

// simplify variable name
const bl = bondLength;

/**
 * After creating the atoms and bond meshes by assembling their geometries and materials,
 * We need to position them on the scene properly.
 * `atomPositions` is an array that holds x, y, z components for the position of each atom.
 * `bondPositions` is an array that holds "the initial"  x, y, z components for the position of each bond.
 */

// prettier-ignore
const atomPositions = {
    carbon: [bl *  0,       bl * 1.25,     bl *  0],
    h1:     [bl *  1.125,   bl * 1,        bl *  0],
    h2:     [bl * -1.125,   bl * 1,        bl *  0],
    h3:     [bl *  0,       bl * 1,        bl *  1],
    h4:     [bl *  0,       bl * 1.625,    bl * -1],
} as const;

// prettier-ignore
const bondPositions = {
    bond1:  [bl *  0.625,   bl * 1.125,    bl *  0],
    bond2:  [bl * -0.625,   bl * 1.125,    bl *  0],
    bond3:  [bl *  0,       bl * 1.25,     bl *  0.5],
    bond4:  [bl *  0,       bl * 1.25,     bl * -0.5],
} as const;

carbon___Atom.position.set(...atomPositions.carbon);
hydrogenAtom1.position.set(...atomPositions.h1);
hydrogenAtom2.position.set(...atomPositions.h2);
hydrogenAtom3.position.set(...atomPositions.h3);
hydrogenAtom4.position.set(...atomPositions.h4);

crLabel.position.set(...atomPositions.carbon);
h1Label.position.set(...atomPositions.h1);
h2Label.position.set(...atomPositions.h2);
h3Label.position.set(...atomPositions.h3);
h4Label.position.set(...atomPositions.h4);

bond1.position.set(...bondPositions.bond1);
bond2.position.set(...bondPositions.bond2);
bond3.position.set(...bondPositions.bond3);
bond4.position.set(...bondPositions.bond4);

/**
 * In order to see the shadow properly, we need to create a plane that will act as the ground.
 * the following creates a wide plane and position it below the molecule.
 */
const planeGeometry = new THREE.PlaneGeometry(100 * 1000, 100 * 1000);
const planeMaterial = new THREE.MeshStandardMaterial({
    color: THREE.Color.NAMES.black,
    side: THREE.DoubleSide,
});
const plane = new THREE.Mesh(planeGeometry, planeMaterial);
plane.rotation.x = Math.PI / 2;
plane.position.y = -bondLength * 1.7;

/**
 * In order to rotate the entire molecule as one object, we need to group all the objects together.
 * This gives us a single mesh that we can control.
 */
const moleculeGroup = new THREE.Group();
moleculeGroup.add(carbon___Atom, hydrogenAtom1, hydrogenAtom2, hydrogenAtom3, hydrogenAtom4, bond1, bond2, bond3, bond4, crLabel, h1Label, h2Label, h3Label, h4Label);

scene.add(moleculeGroup, plane); // add necessary objects to the scene

/**
 * Handling shadows:
 * - configure necessary objects to cast and receive shadows.
 * - configure the directional light position and other properties.
 * - set the light source at the top left corner of the canvas.
 * - configure the shadow camera properties.
 */
renderer.shadowMap.enabled = true;
renderer.shadowMap.type = THREE.PCFSoftShadowMap;

directionalLight.color = new THREE.Color(THREE.Color.NAMES.green); // set a yellow color
const top = canvas.height / 2;
const left = -canvas.width / 2;
directionalLight.position.set(left * 1.5, top * 2, -100); // set the position of the light to the top left corner
directionalLight.visible = true; // ensure the light is visible
directionalLight.intensity = 100;
directionalLight.castShadow = true; // enable shadow casting from this light
plane.receiveShadow = true;
plane.castShadow = false; // disable shadow casting

carbon___Atom.castShadow = true;
hydrogenAtom1.castShadow = true;
hydrogenAtom2.castShadow = true;
hydrogenAtom3.castShadow = true;
hydrogenAtom4.castShadow = true;
bond1.castShadow = true;
bond2.castShadow = true;
bond3.castShadow = true;
bond4.castShadow = true;

carbon___Atom.receiveShadow = false;
hydrogenAtom1.receiveShadow = false;
hydrogenAtom2.receiveShadow = false;
hydrogenAtom3.receiveShadow = false;
hydrogenAtom4.receiveShadow = false;
bond1.receiveShadow = false;
bond2.receiveShadow = false;
bond3.receiveShadow = false;
bond4.receiveShadow = false;

directionalLight.shadow.camera.near = 1;
directionalLight.shadow.camera.far = 5000;
directionalLight.shadow.camera.left = -1000;
directionalLight.shadow.camera.right = 1000;
directionalLight.shadow.camera.top = 1000;
directionalLight.shadow.camera.bottom = -1000;

camera.position.set(300, 1000, 200); // setting a good angle to see more of scene.
camera.lookAt(carbon___Atom.position); // look at the carbon atom by default

// orientation of the bond cylinder
// the cylinders perpendicular to the sphere's surface and at the center of them
const reOrientBond = (params: { bond: THREE.Mesh; carbon: THREE.Mesh; hydrogen: THREE.Mesh }) => {
    const { bond, carbon, hydrogen } = params;
    const carbonPosition = carbon.position;
    const hydrogenPosition = hydrogen.position;

    const direction = new THREE.Vector3().subVectors(hydrogenPosition, carbonPosition).normalize();

    const distanceCH = carbonPosition.distanceTo(hydrogenPosition);
    const bondAdjustedLength = distanceCH - (carbonRadius + hydrogenRadius);

    // Position the bond: start at carbon surface, move half the bond length along direction
    const bondCenterOffset = carbonRadius + bondAdjustedLength / 2;
    bond.position.copy(carbonPosition).add(direction.clone().multiplyScalar(bondCenterOffset));

    bond.quaternion.setFromUnitVectors(new THREE.Vector3(0, 1, 0), direction);
};

reOrientBond({ bond: bond1, carbon: carbon___Atom, hydrogen: hydrogenAtom1 });
reOrientBond({ bond: bond2, carbon: carbon___Atom, hydrogen: hydrogenAtom2 });
reOrientBond({ bond: bond3, carbon: carbon___Atom, hydrogen: hydrogenAtom3 });
reOrientBond({ bond: bond4, carbon: carbon___Atom, hydrogen: hydrogenAtom4 });

const animate = () => {
    requestAnimationFrame(animate);
    render();
};

animate();
Code Explanation
- The
createBaseScenefunction is used to create the basic scene setup. It returns many variables to the caller, including render, renderer, scene, camera, controls, lights, and other GUI helpers. - The full source code for
createBaseSceneis available here: https://github.com/ahmad-ali14/AY2025-T2-CS4406/blob/main/src/utils/createBaseScene.ts - The code above is well documented and explains how the atoms and bonds are created and positioned in the scene.
- We started from a base number represents the
bondLengthand all other sizes and positions are calculated based on it (relative tobondLength). - The scene includes 9 meshes representing the atoms and bonds, and grouped into a single mesh group for easy manipulation.
- A plane is added to the scene to act as the ground and receive shadows from the objects.
- The directional light is configured to cast shadows and positioned at the top left corner of the canvas.
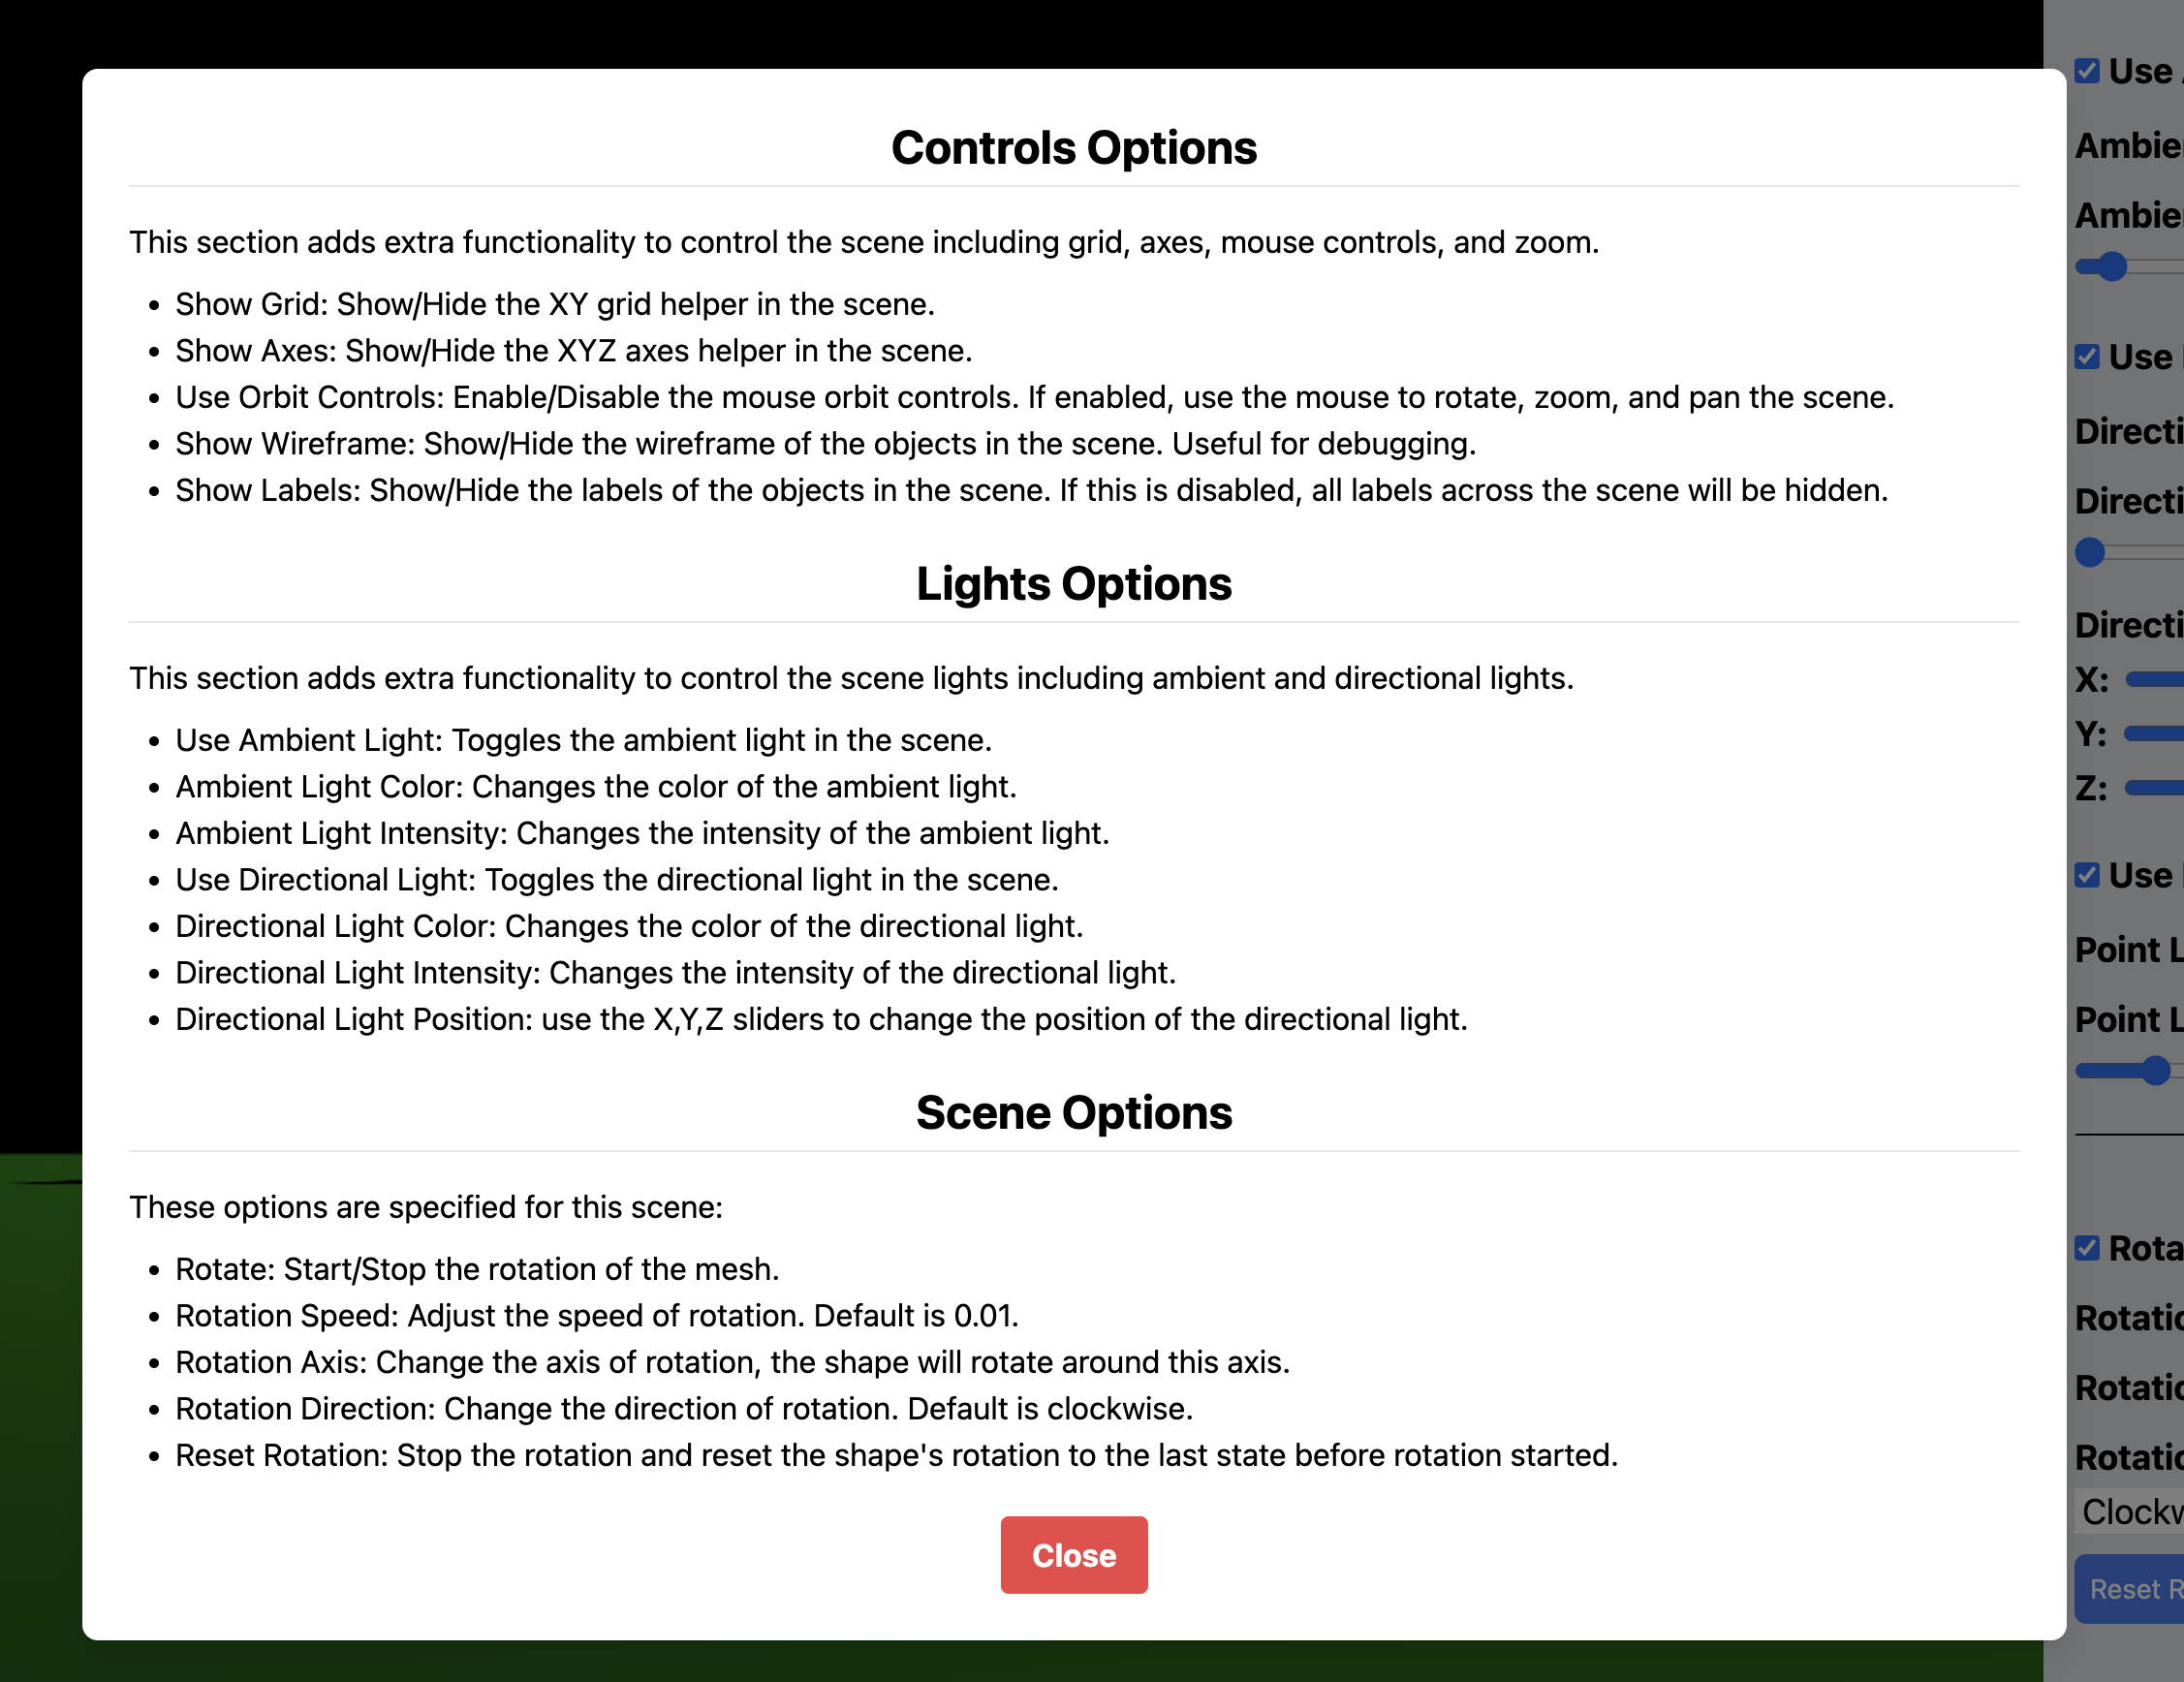
Options Panel
The Options Panel is a GUI panel lies on the right side of the screen. It contains the following options (see images 5-7 below), and the explanation of each option is as follows (Image 8) and can be displayed by clicking the Help button at https://ahmad-ali14.github.io/AY2025-T2-CS4406/unit5/:
| Image 5: Options Panel 1 |
|---|
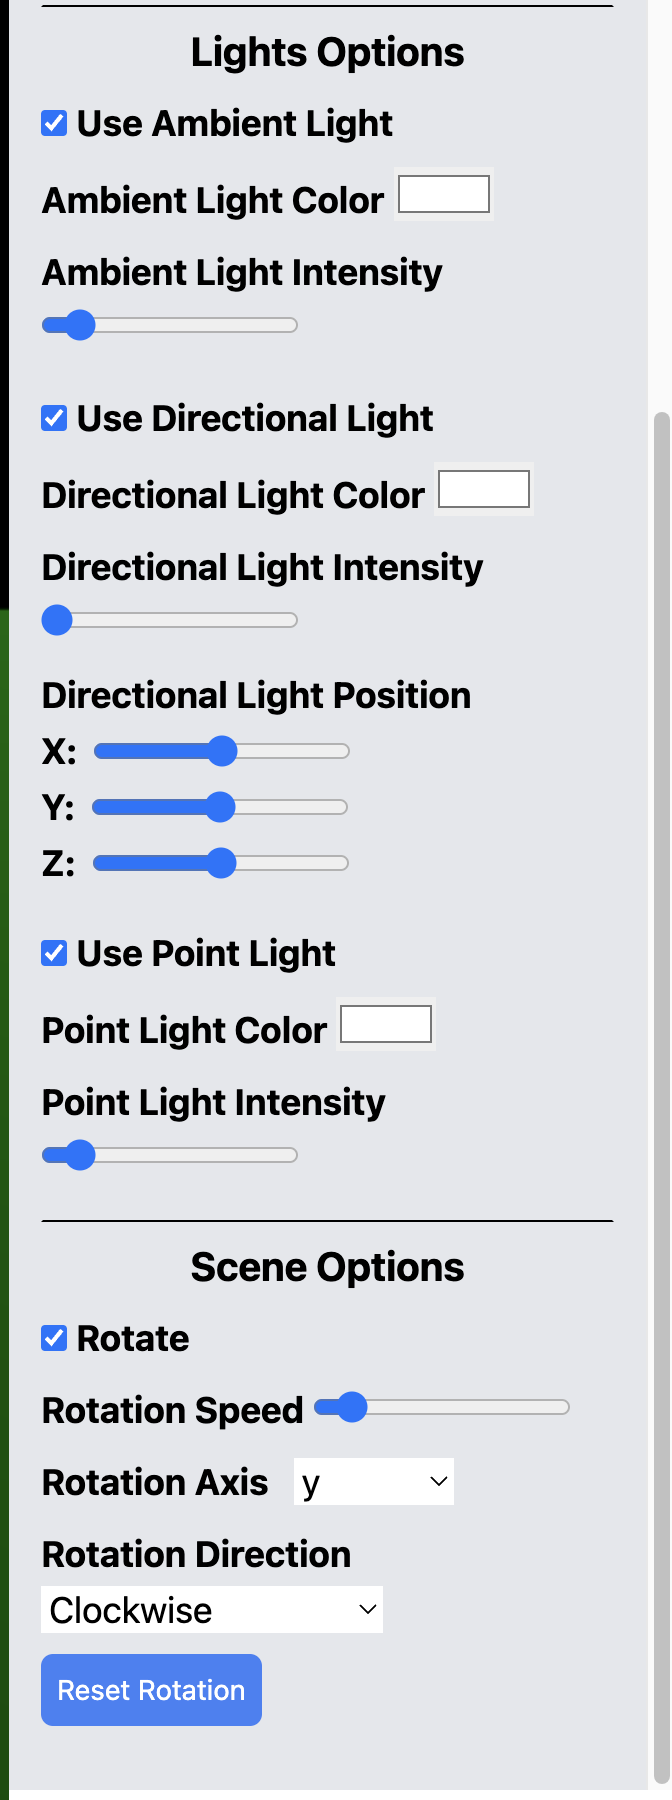 |
| Image 6: Options Panel 2 |
|---|
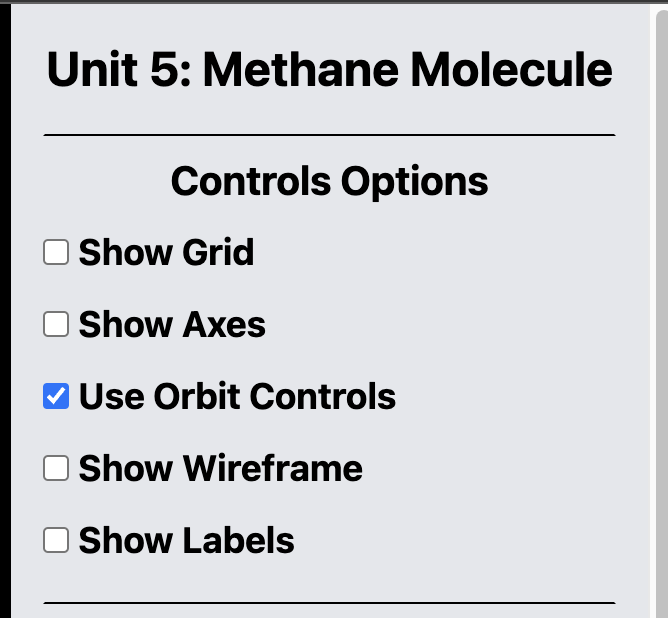 |
| Image 7: Options Panel 3 |
|---|
 |
Conclusion
| - | Link |
|---|---|
| Live demo | https://ahmad-ali14.github.io/AY2025-T2-CS4406/unit5/ |
| Source code | https://github.com/ahmad-ali14/AY2025-T2-CS4406/blob/main/src/unit5/code.ts |
References
- Learning Guide Unit 5: Introduction | Home. (2024). Uopeople.edu. https://my.uopeople.edu/mod/book/view.php?id=444286&chapterid=540608
- Three.js docs. (2024). Threejs.org. https://threejs.org/docs/#api/en/lights/DirectionalLight